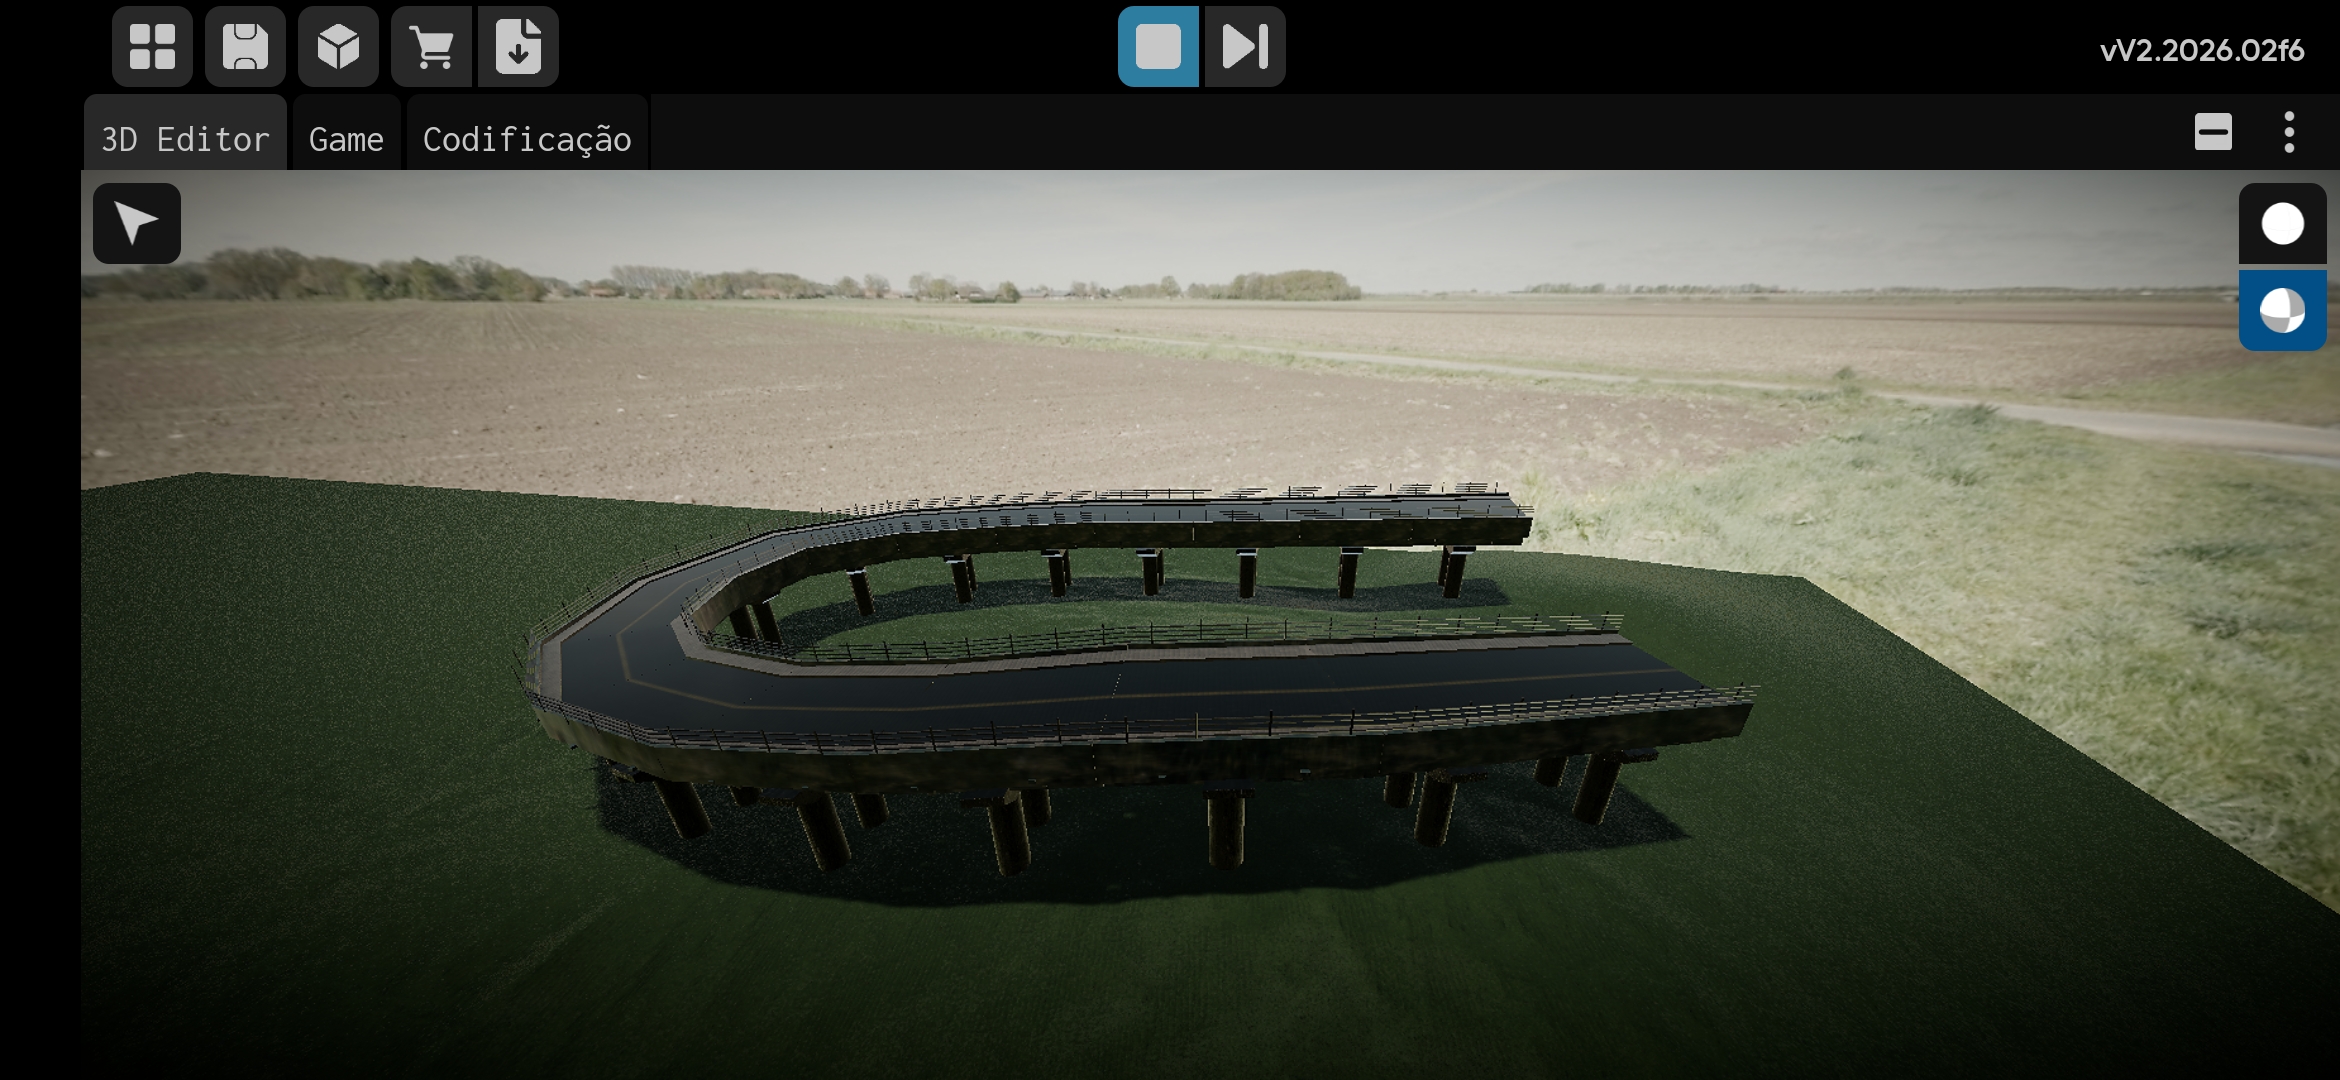
MeshCurve
MeshCurve generates a baked mesh (and optional collider) along a path defined by PathPoint components. It is ideal for fences, walls, pipes, and road-like meshes that must follow a curve.
Create a MeshCurve (Editor shortcuts)
There are two fast ways to create a MeshCurve in the editor:
-
Topbar -> Create Object -> MeshCurve
Creates a MeshCurve with the standardMeshandPointschildren. -
Files panel -> Object file -> Create curve of
Right-click (or open the menu on) an object file and choose Create curve of.
This builds a MeshCurve and automatically places the selected object under theMeshchild.
Gallery
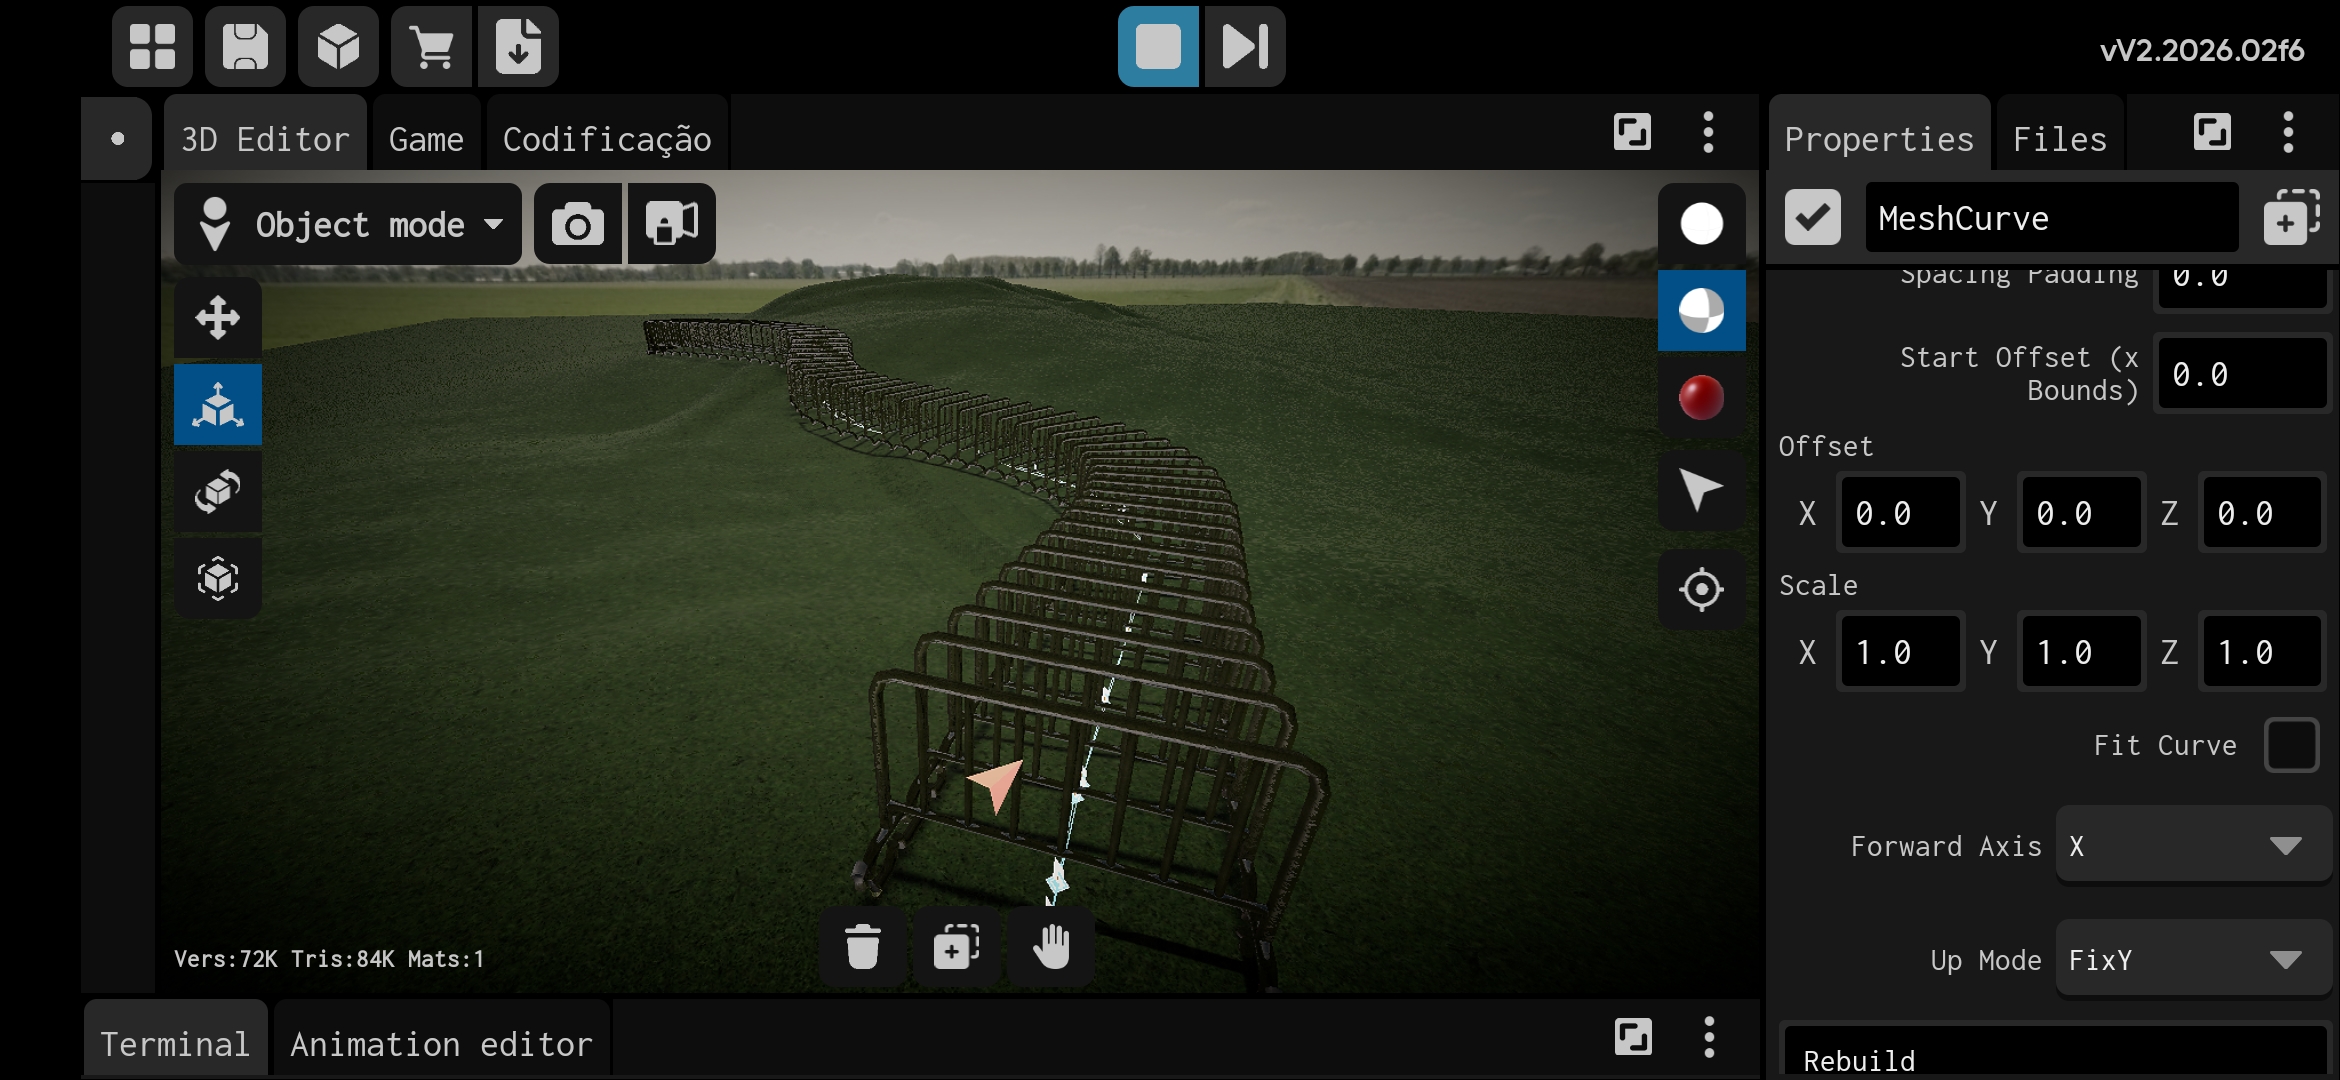 MeshCurve following a curved path. | 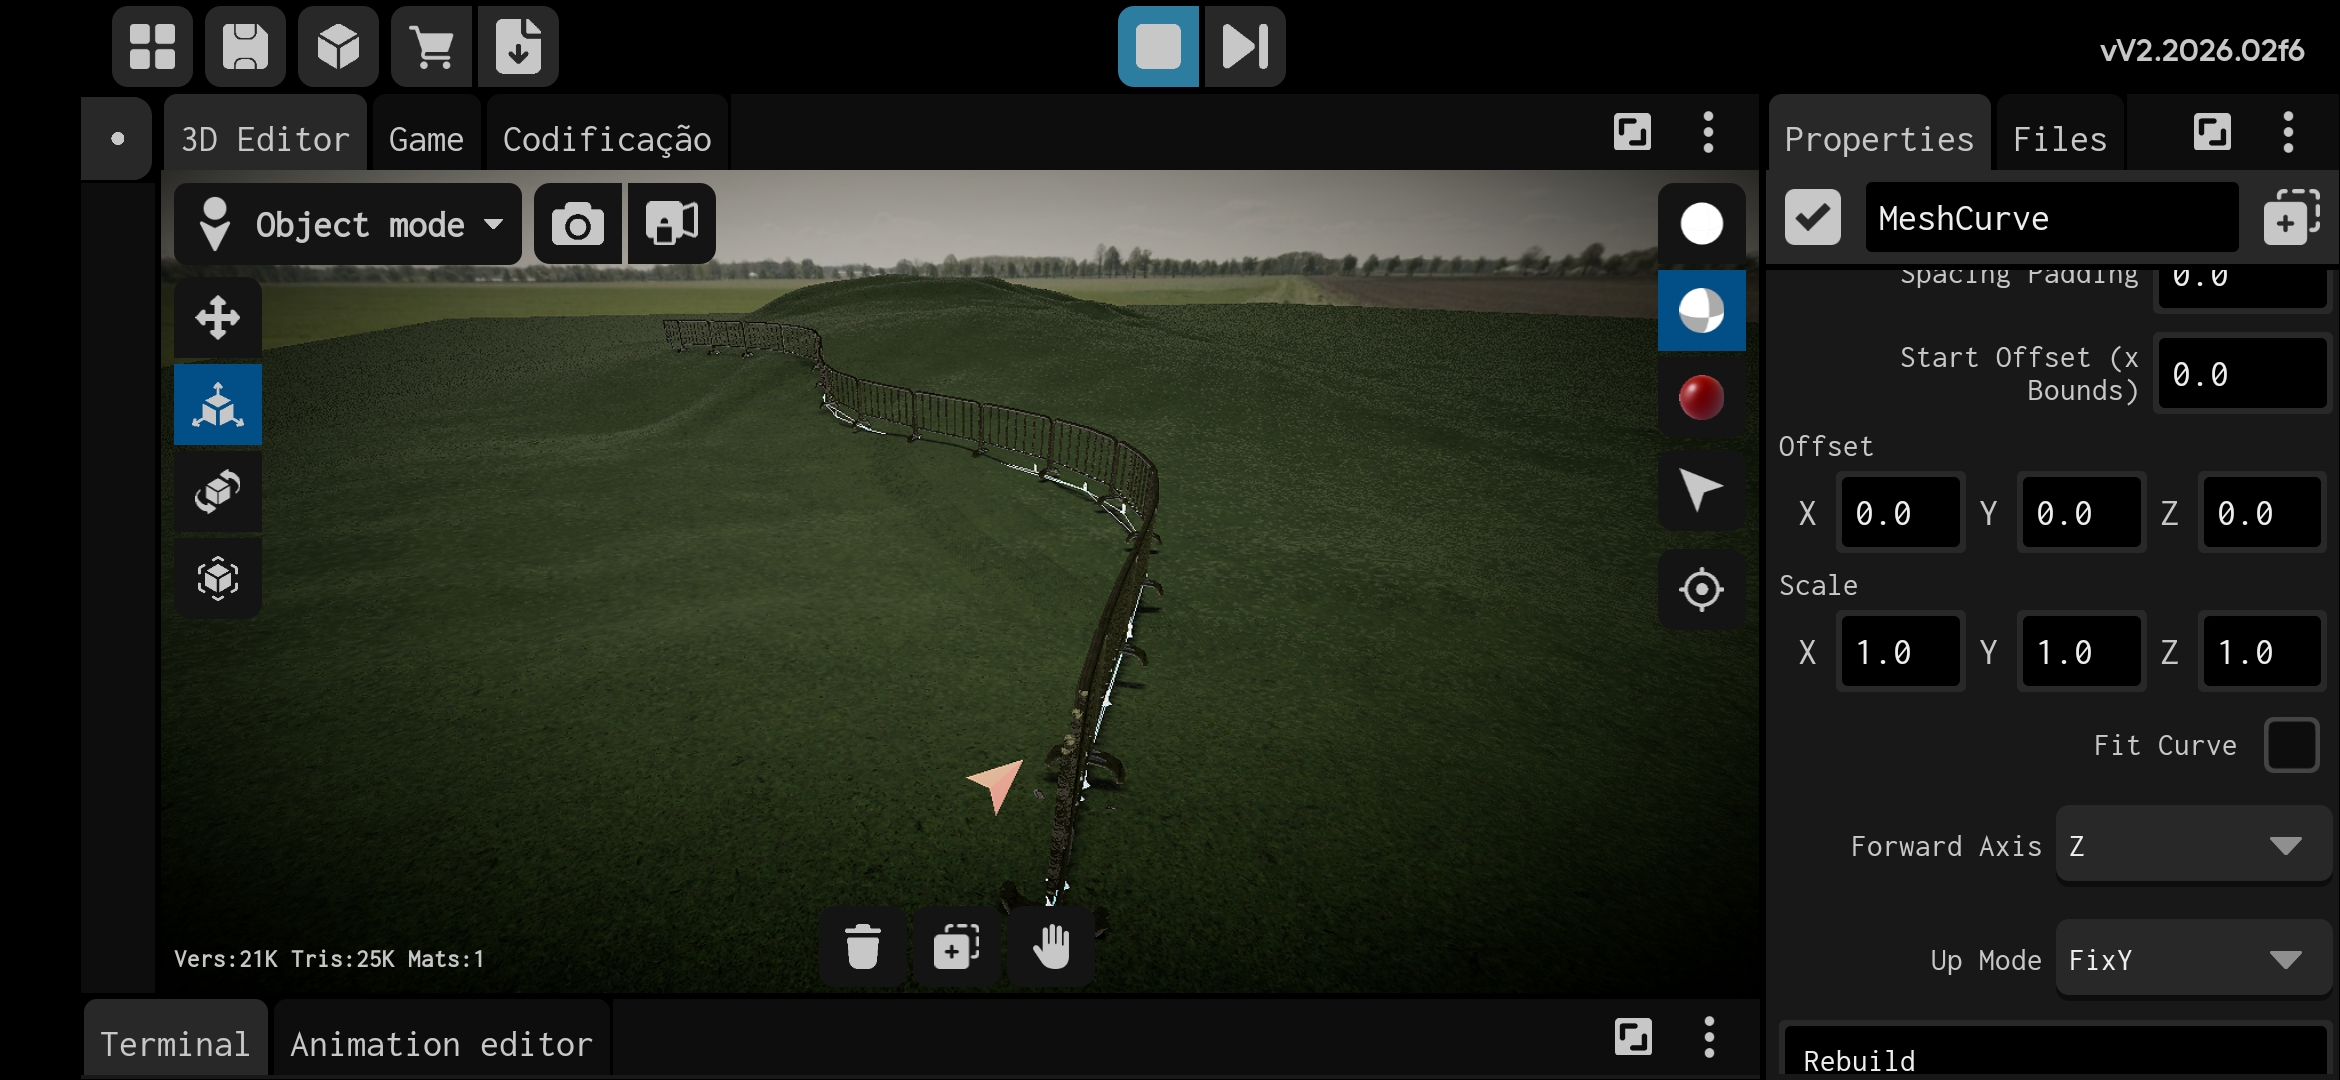 Inspector settings for MeshCurve. |
 Editing the path using gizmos. | 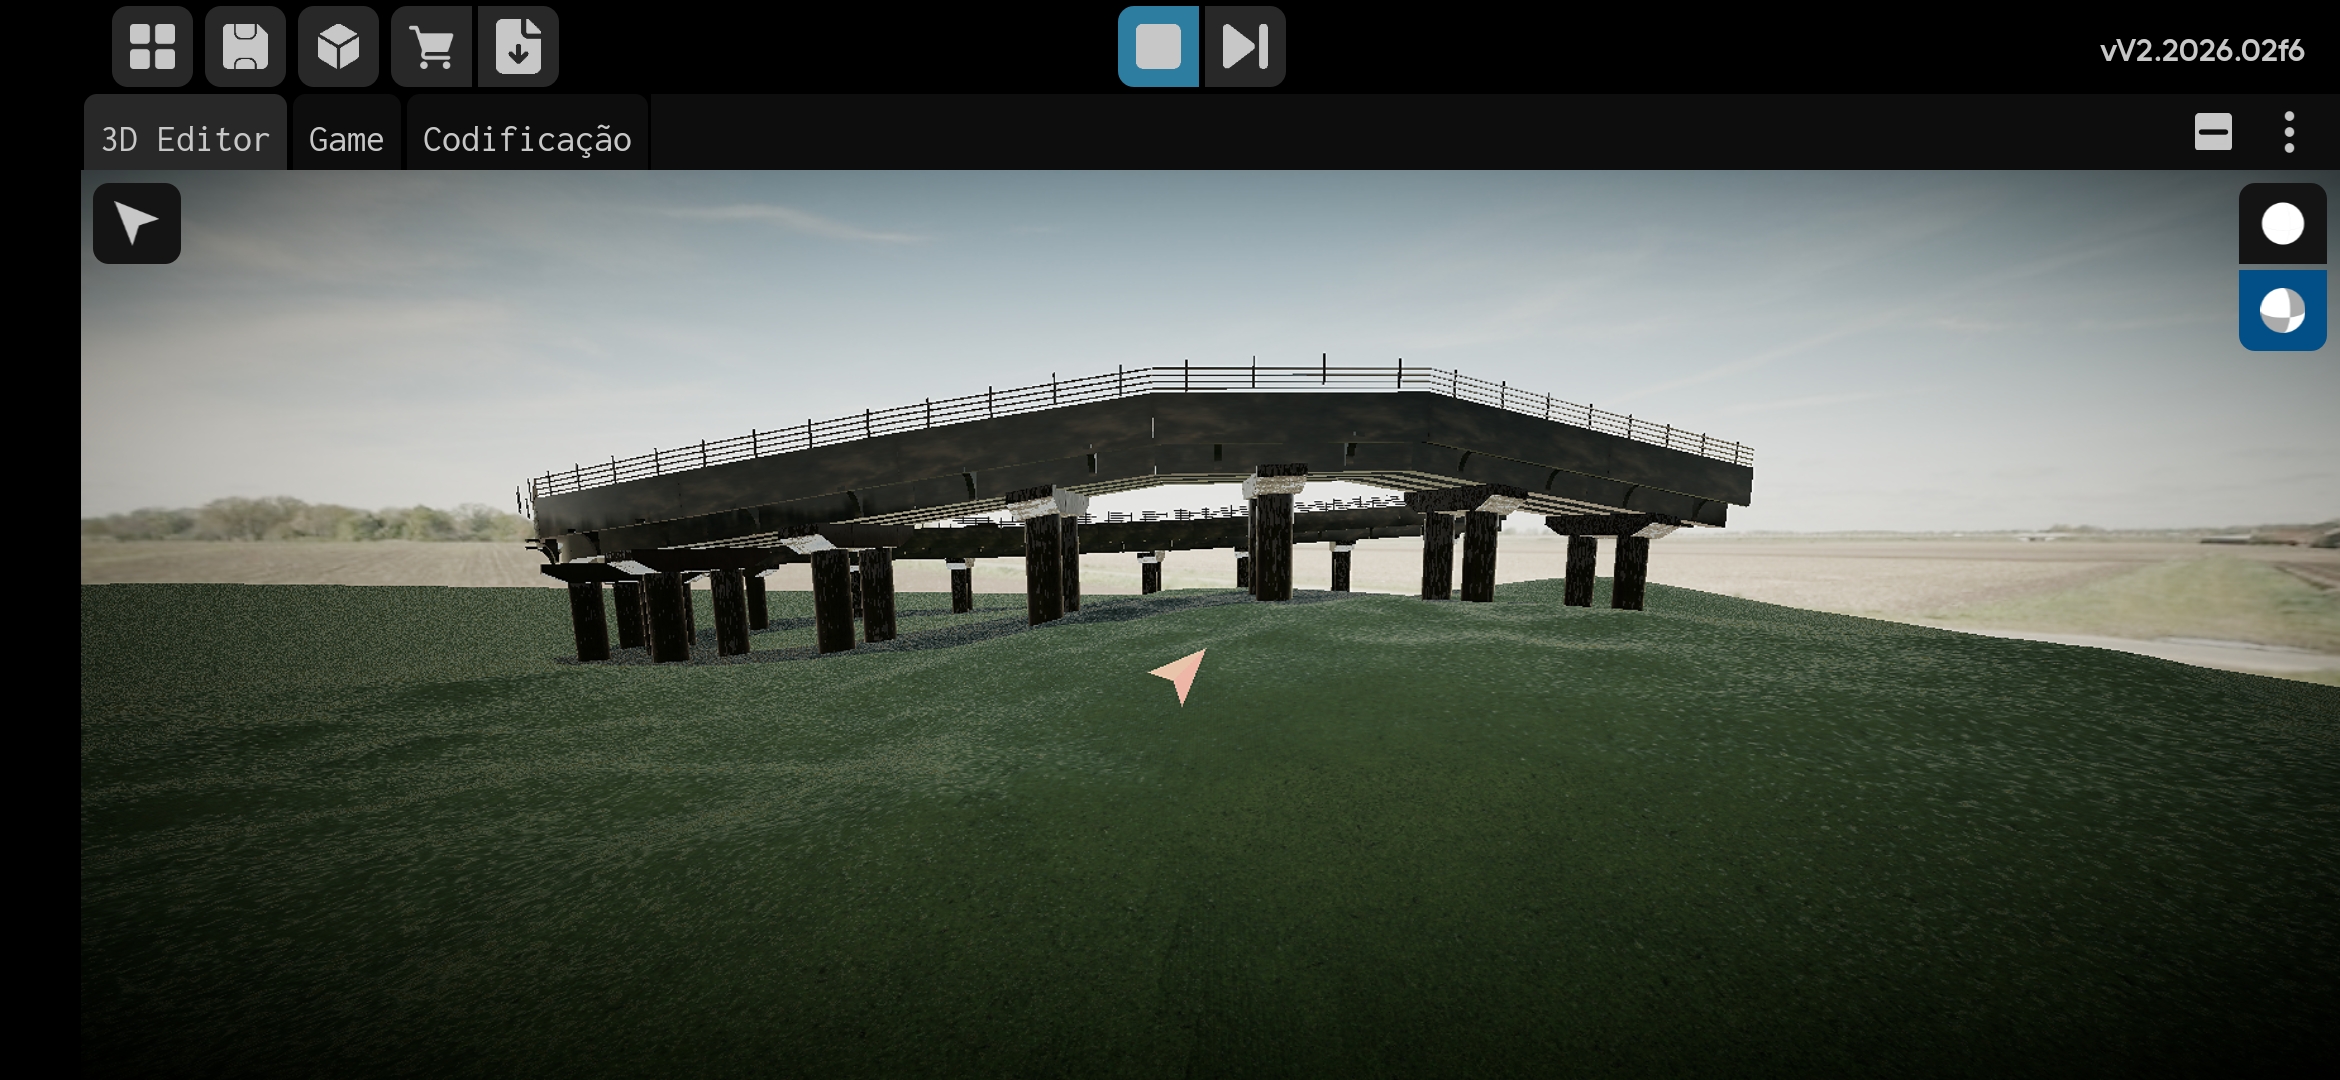 Close-up of the baked mesh along the curve. |
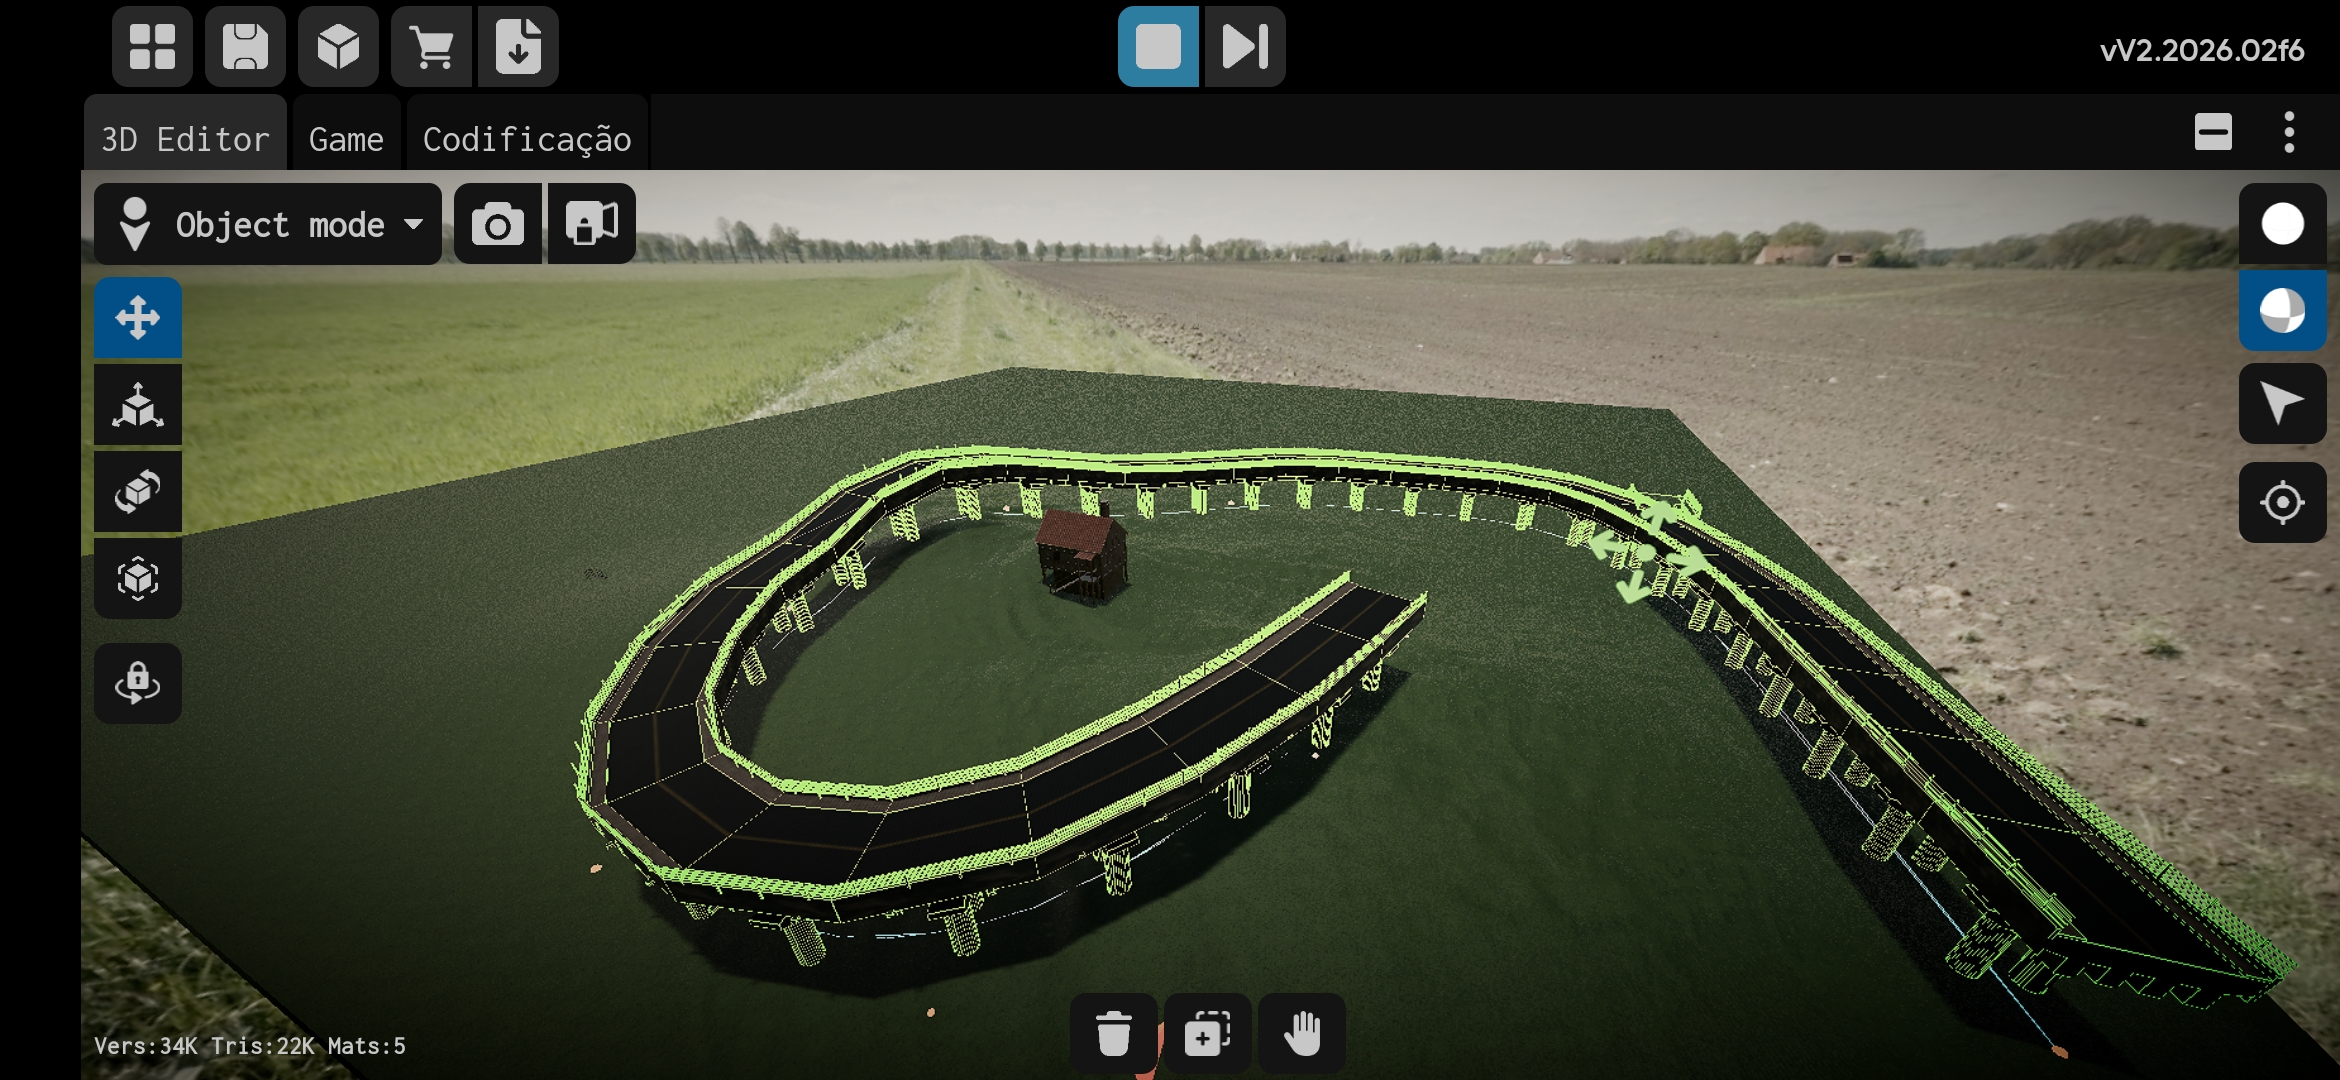 Another example of a curved mesh. |
Video: MeshCurve editing workflow.
Typical Setup
- Create a GameObject and add
MeshCurve. - Add a child named
Meshand place your source mesh(es) under it. - Add a child named
Pointsand createPathPointobjects under it. - (Optional) Add
StickToTerrainto the points to keep them on the terrain.
MeshCurve reads the Mesh child as the source and the Points child as the path.
Editor Workflow
- Add at least two
PathPointobjects underPoints. - Move points to shape the curve.
- Adjust
Spacing,Spacing Padding,Forward Axis, andUp Modeon the MeshCurve. - Toggle
Fit Curveif you want the mesh scaled along the path to close the remaining gap. - Toggle
Stick To Terrainif points should snap to terrain.
If Bake Mode is set to Static, the MeshCurve will remove its children after the bake when the game is running. This leaves only the baked mesh and collider for best performance.
Tips
- Ensure your mesh pivot is centered and aligned with the chosen
Forward Axis. - Use
Spacing Paddingfor additional gaps between instances. - If you want no deformation beyond the path limits, keep the mesh fully inside the path length.