Configuring Contact Shadows
Contact Shadows add short shadows where nearby surfaces meet, helping objects feel grounded.
Intensity controls darkness. Shadow and contact distance limit reach. Bias prevents artifacts. Samples and rays improve quality.
Steps
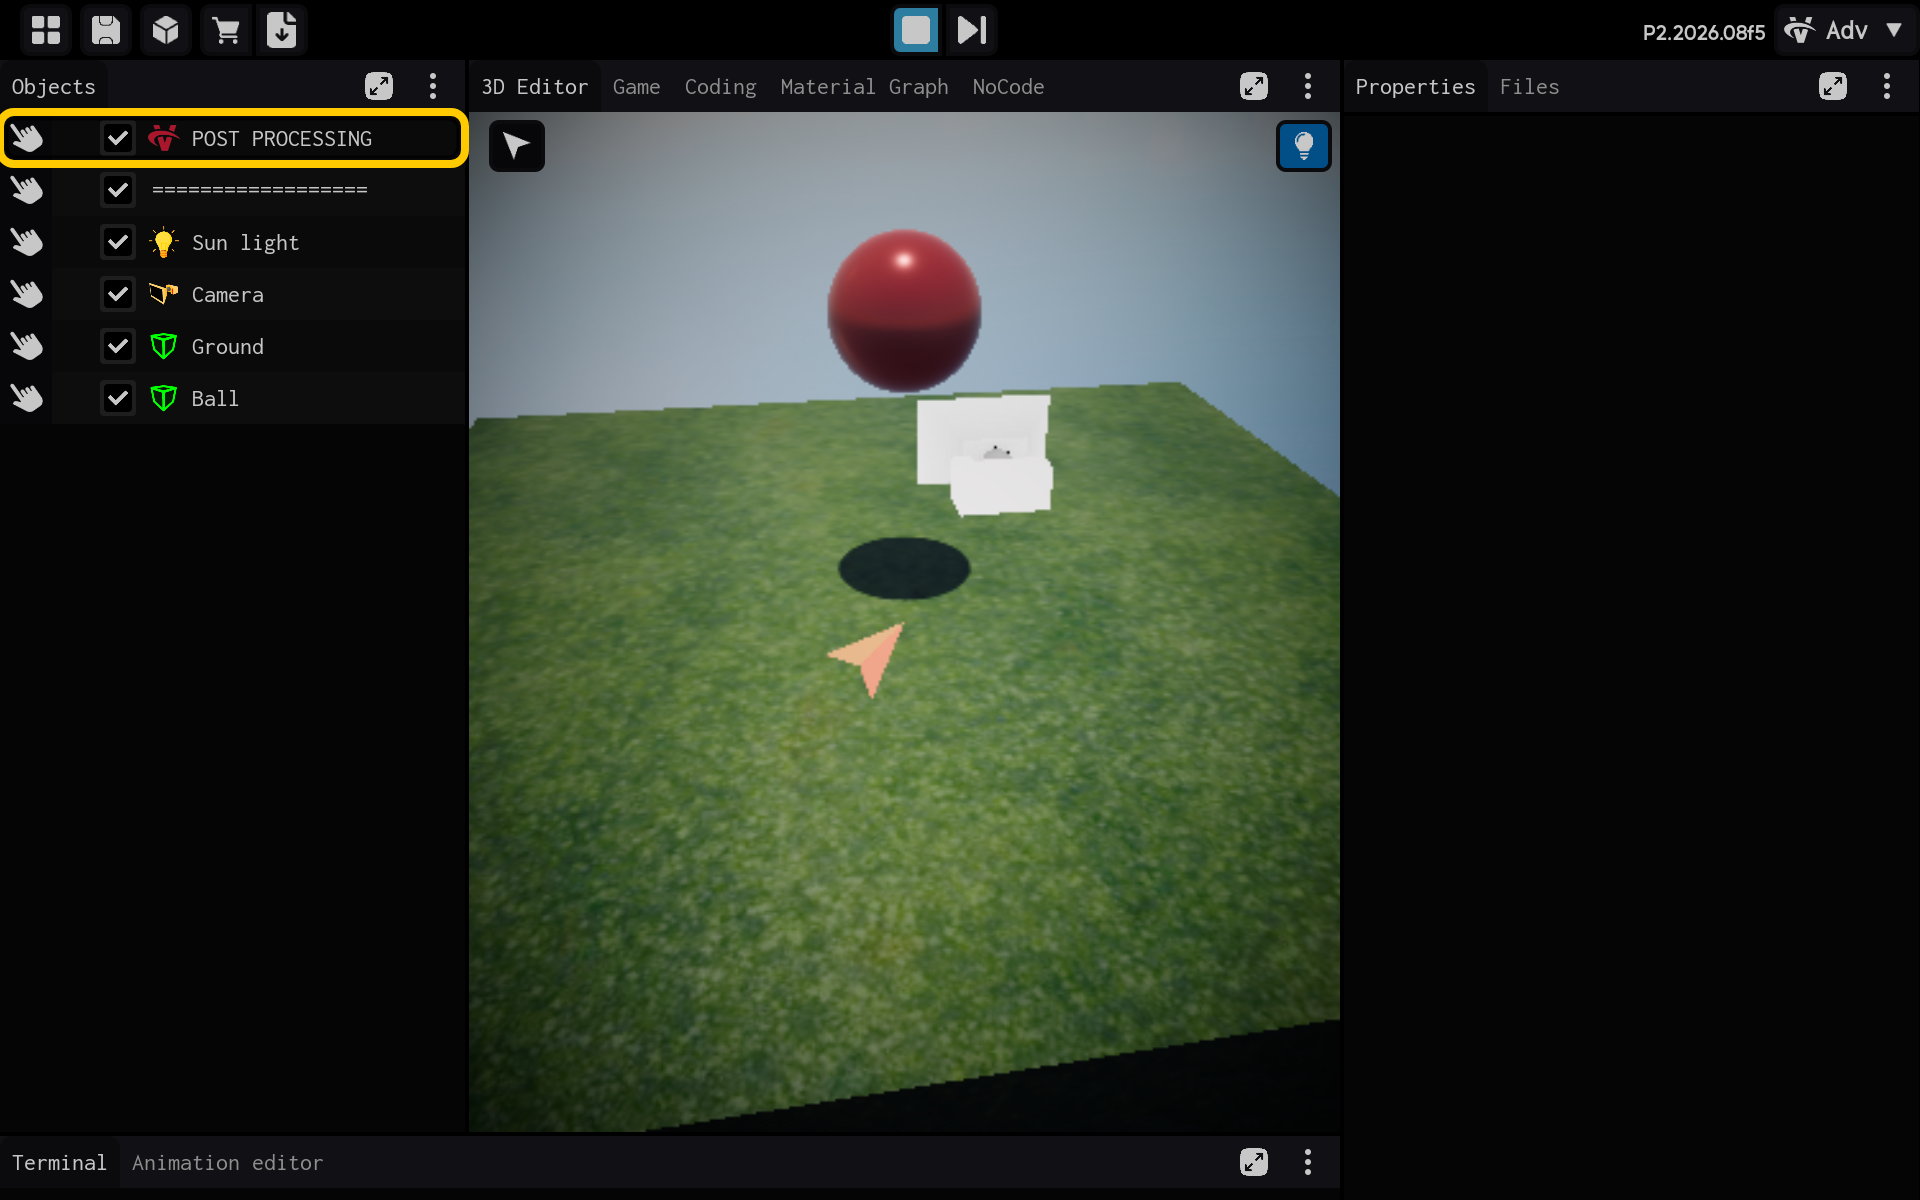
- Select the POST PROCESSING object in the Objects panel.
Optional: Add the ContactShadows component
Use this section only if the ContactShadows component is not already listed in the Properties panel. If it is already present, skip the actions in this section and continue with the main tutorial below.
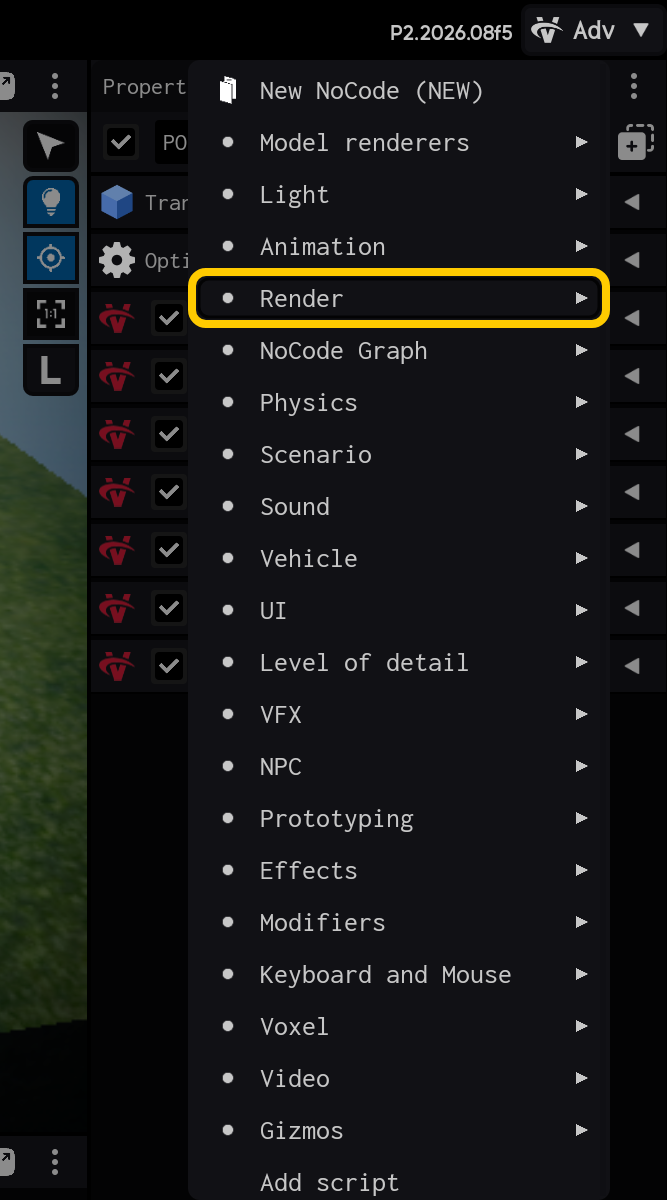
2.1. Tap Add Component to add Contact Shadows.

2.2. Open the Render category.
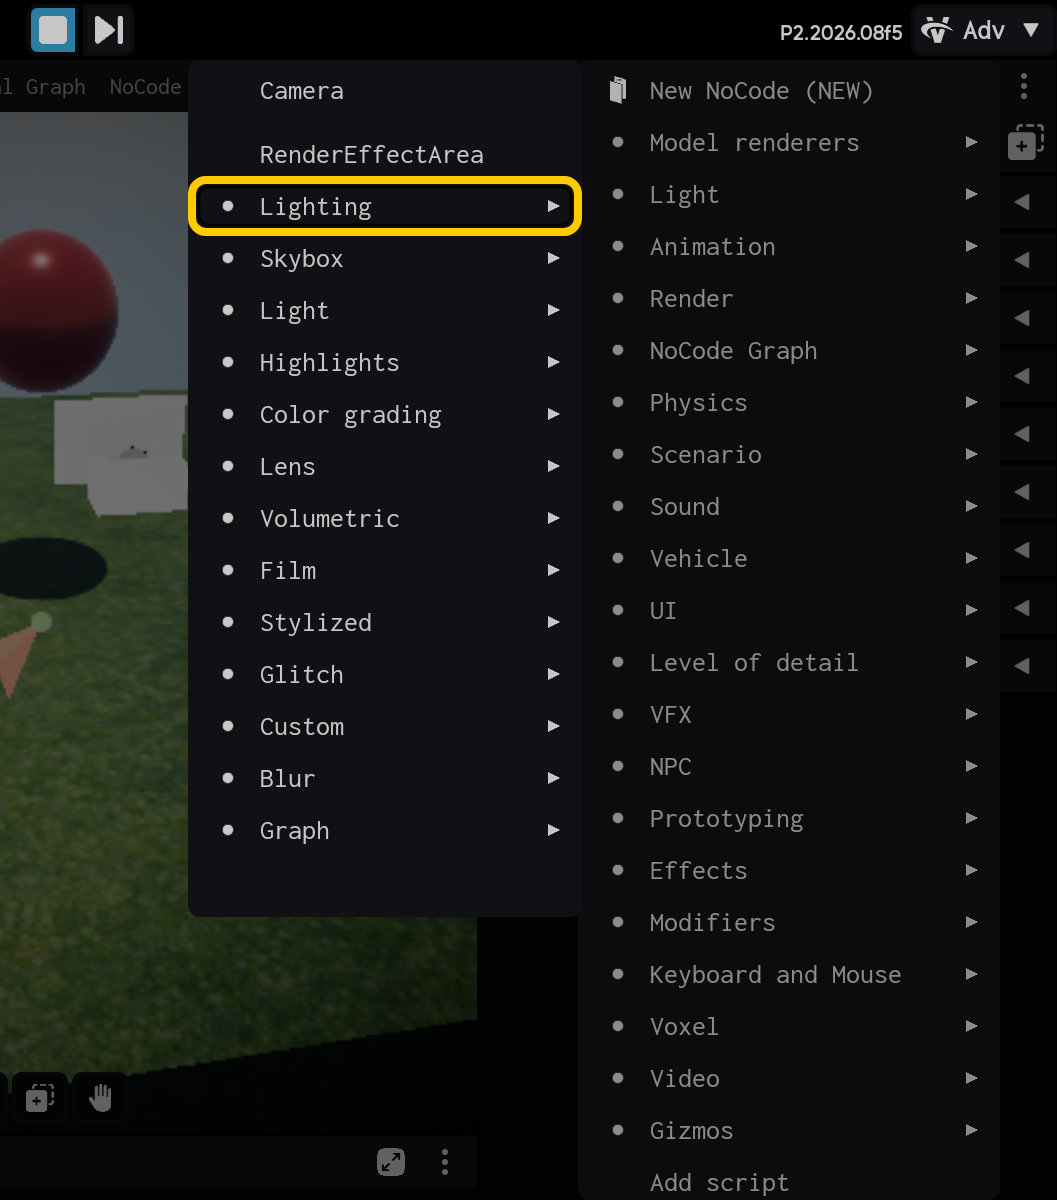
2.3. Open the Lighting category.
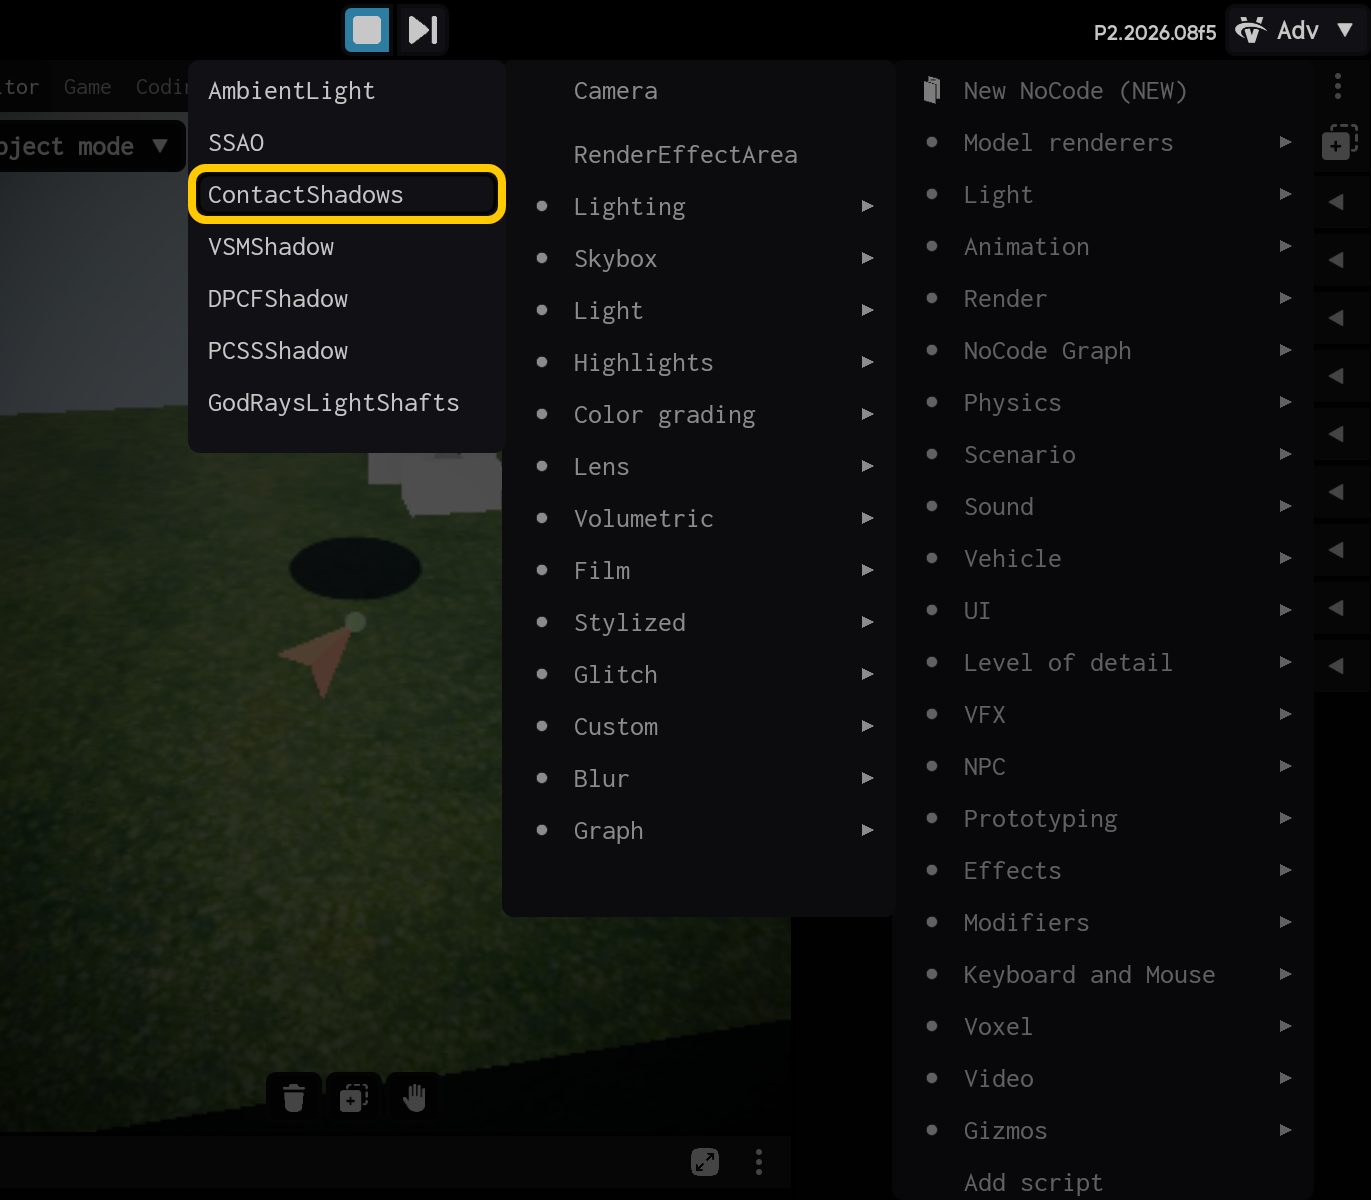
2.4. Select the Contact Shadows component.
End of optional section. Continue with the main tutorial below.
- Select the Contact Shadows component to view its settings.
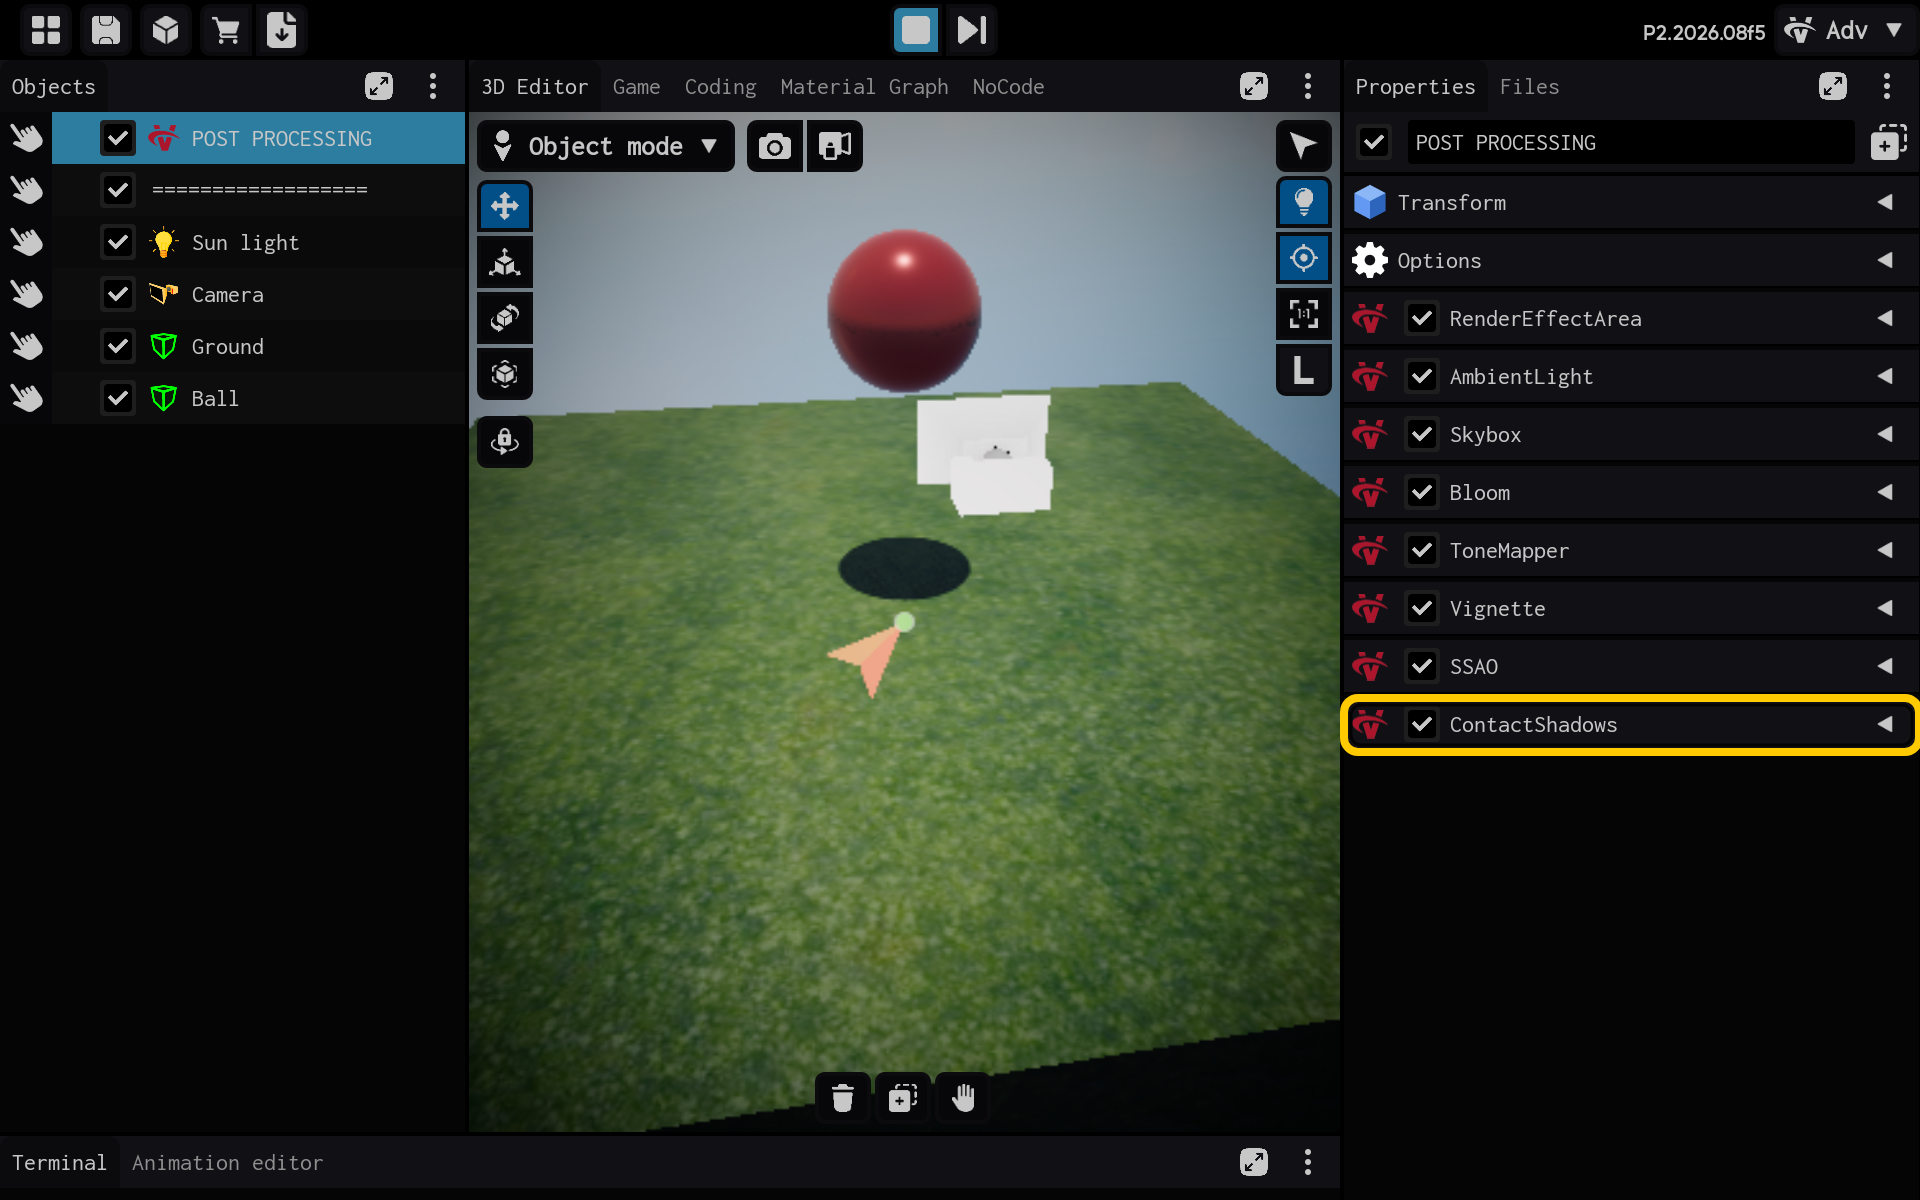
Contact Shadows ground objects where nearby surfaces meet.
- Intensity: Darkness of the contact shadow.
- Light cone and shadow distance: The area where shadows can be projected.
- Contact distance: How far nearby geometry can contribute.
- Depth bias and slope bias: Reduce unwanted shadow marks.
- Sample count and ray count: Improve quality with extra processing.
- Contact Shadows settings are visible in Properties.
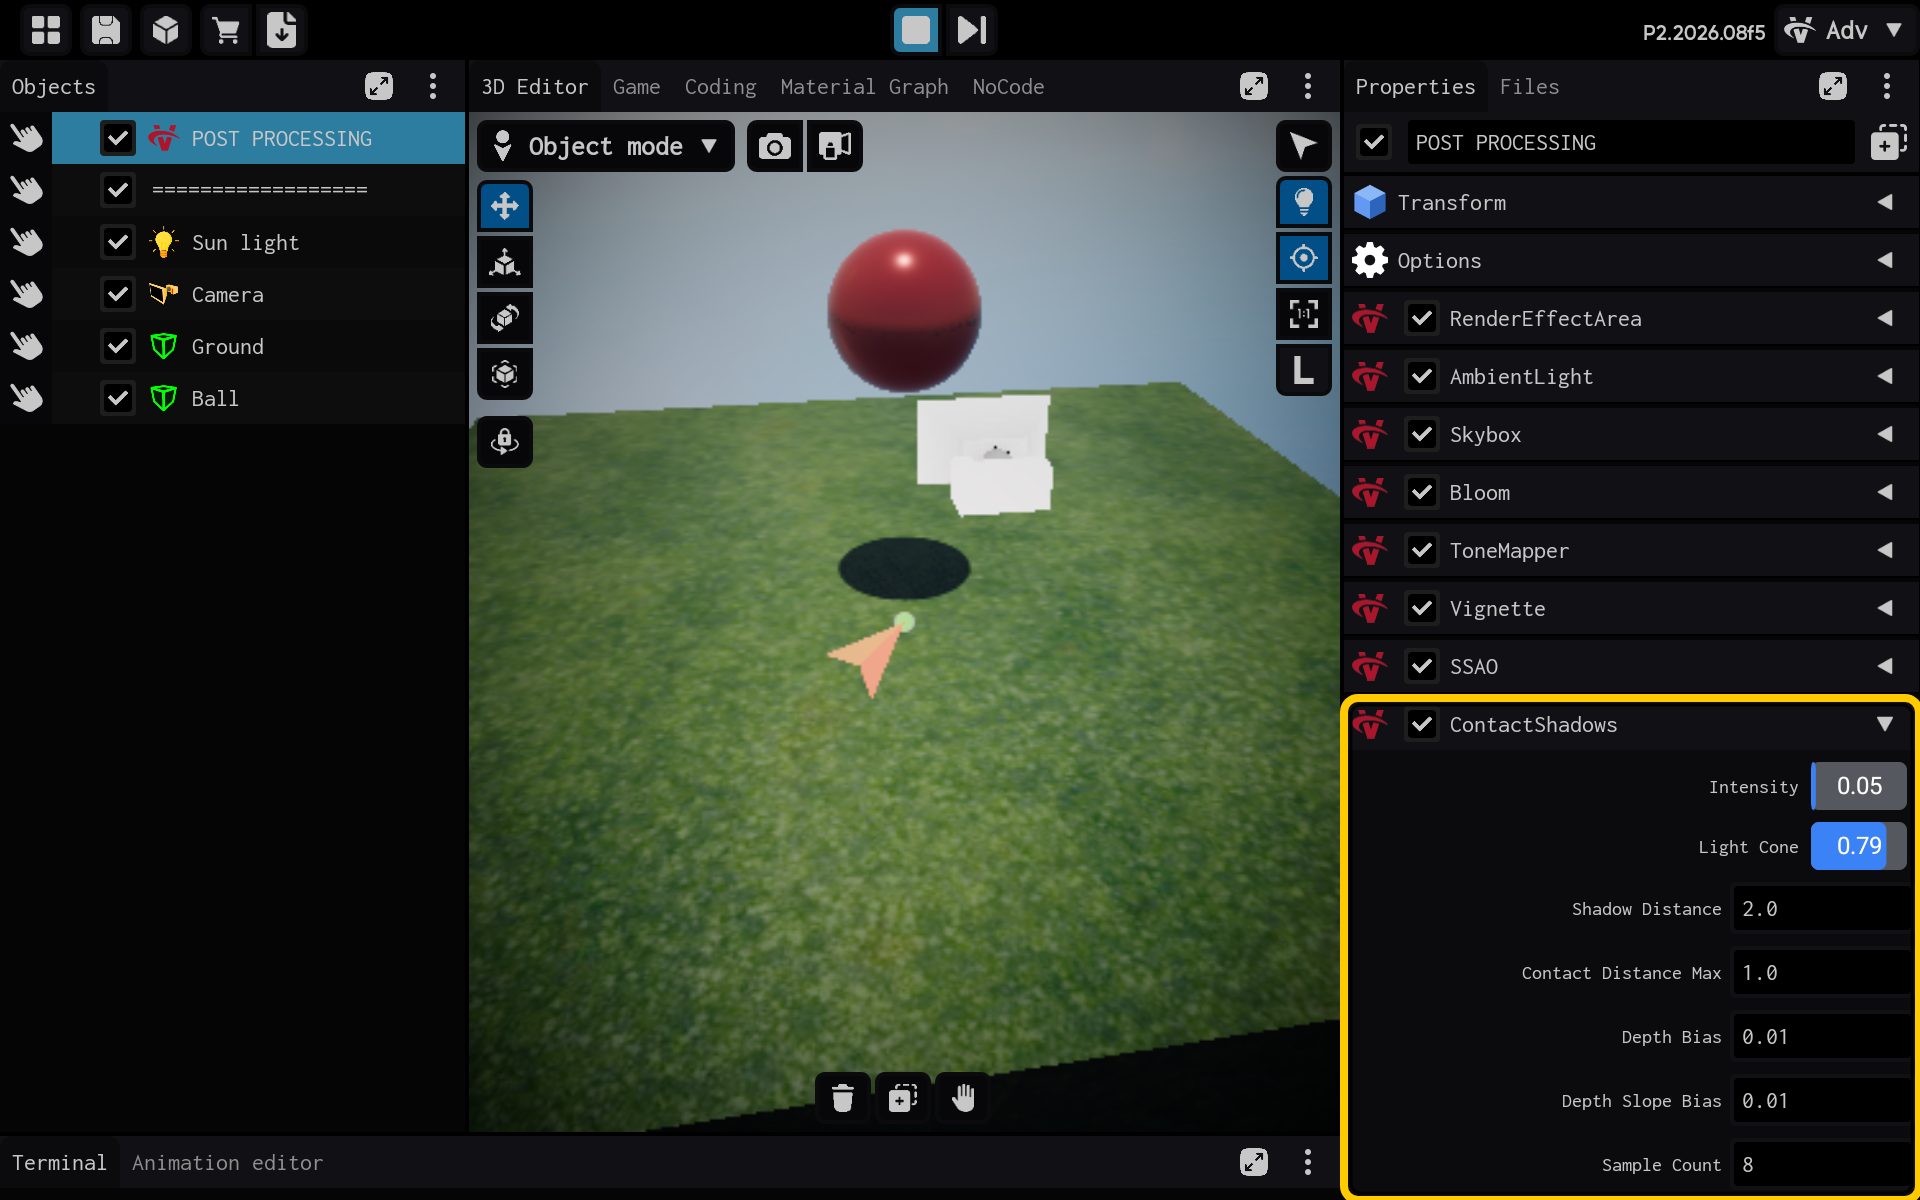
Result
The Contact Shadows component is now configured and its settings are visible in the Properties panel. You can adjust its values and preview the result in your scene.