Configuring LensDirt
Lens Dirt overlays marks on the camera lens, especially over bright areas.
The dirt texture supplies lens marks. Intensity controls visibility. Threshold limits the effect to bright areas. Color tints it.
Steps
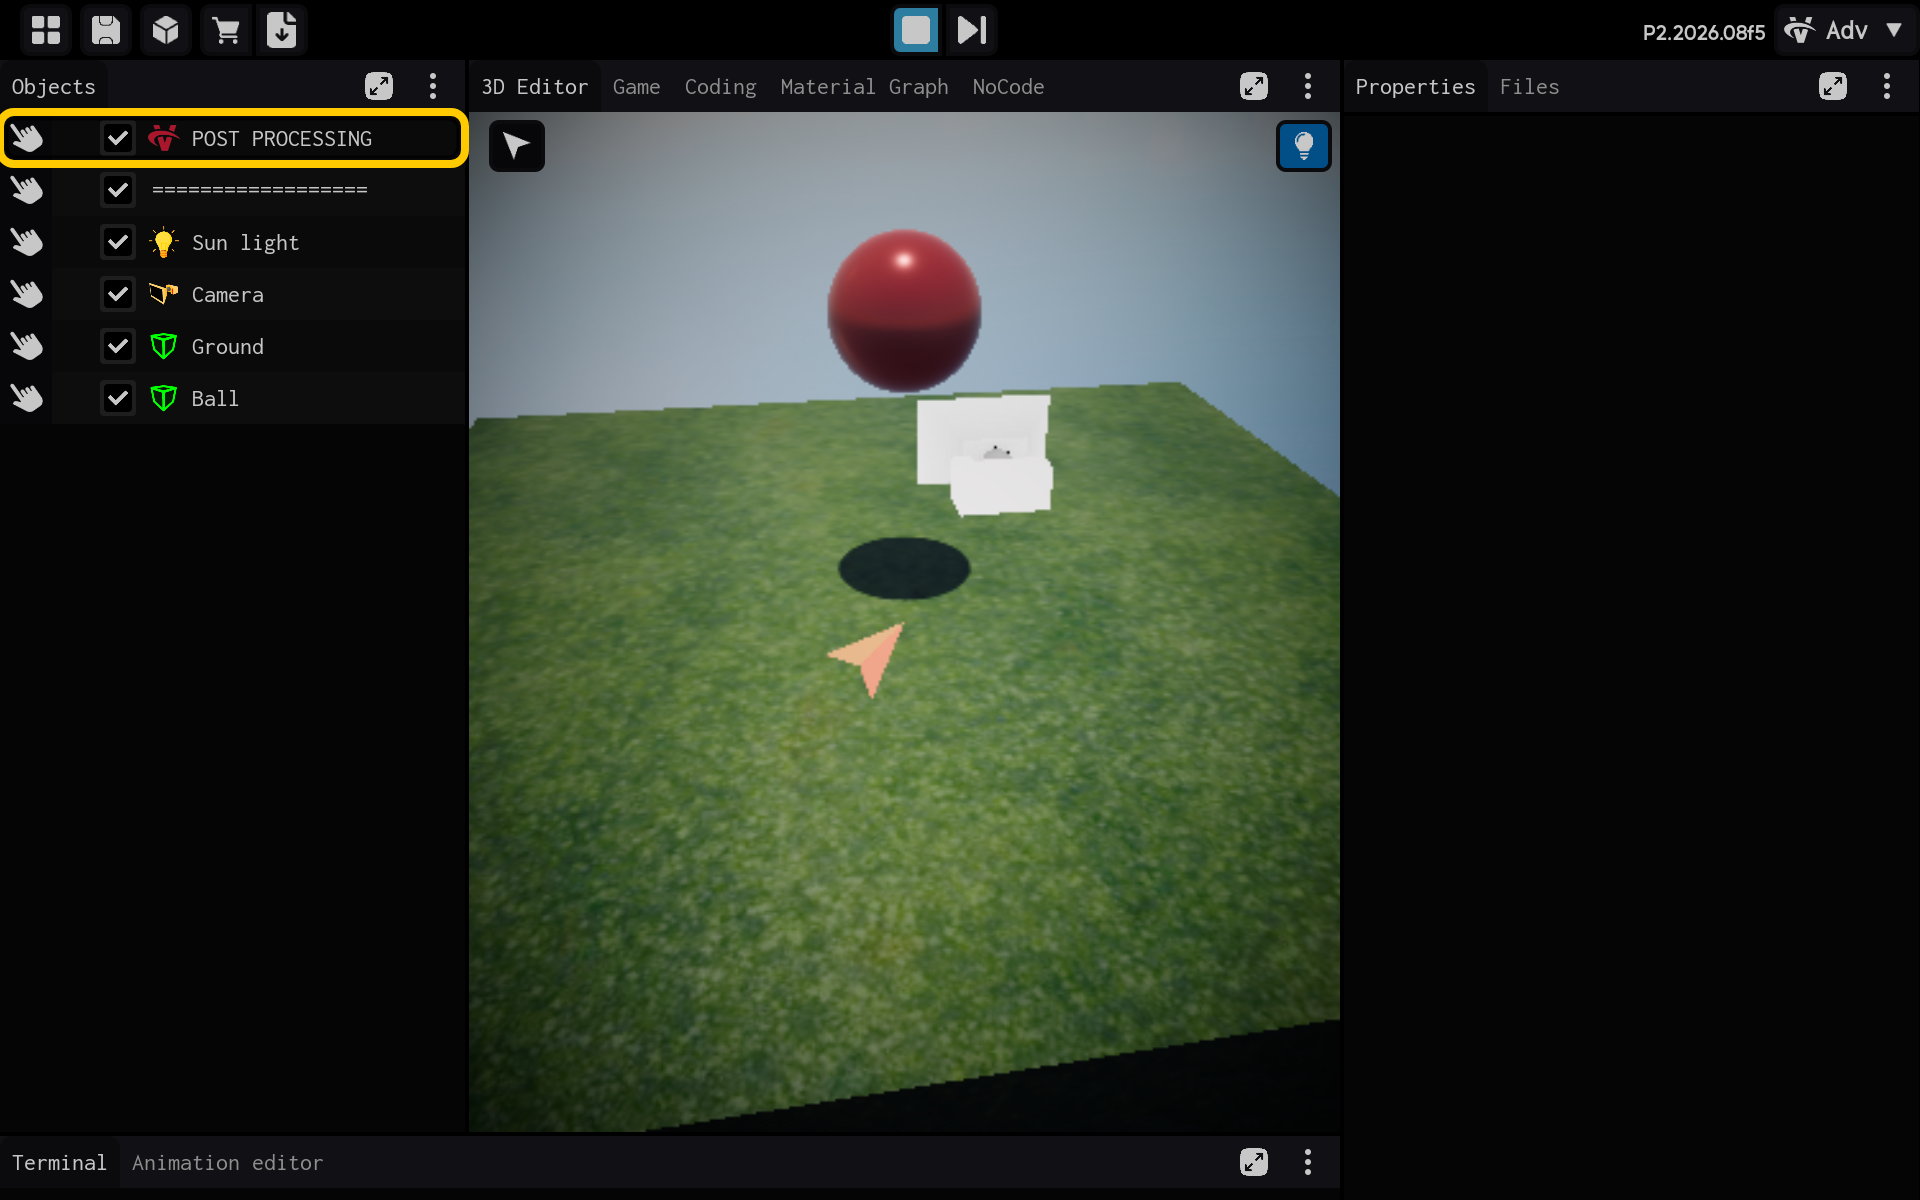
- Select the POST PROCESSING object in the Objects panel.
Optional: Add the LensDirt component
Use this section only if the LensDirt component is not already listed in the Properties panel. If it is already present, skip the actions in this section and continue with the main tutorial below.
2.1. Tap Add Component to add LensDirt.

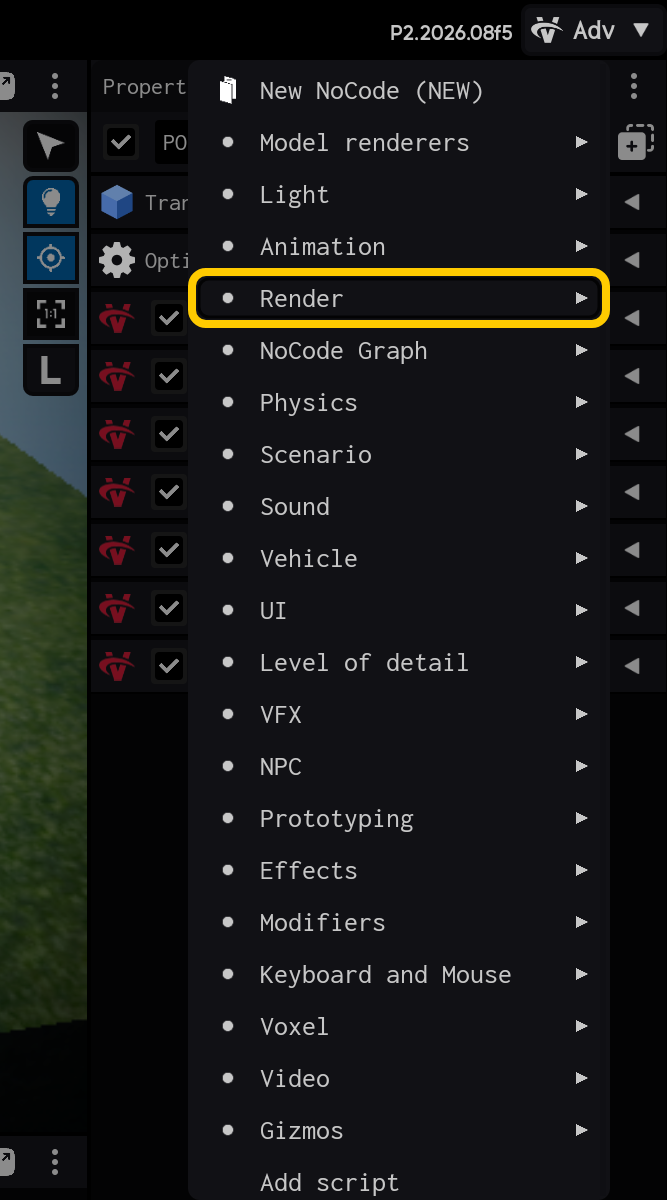
2.2. Open the Render category.
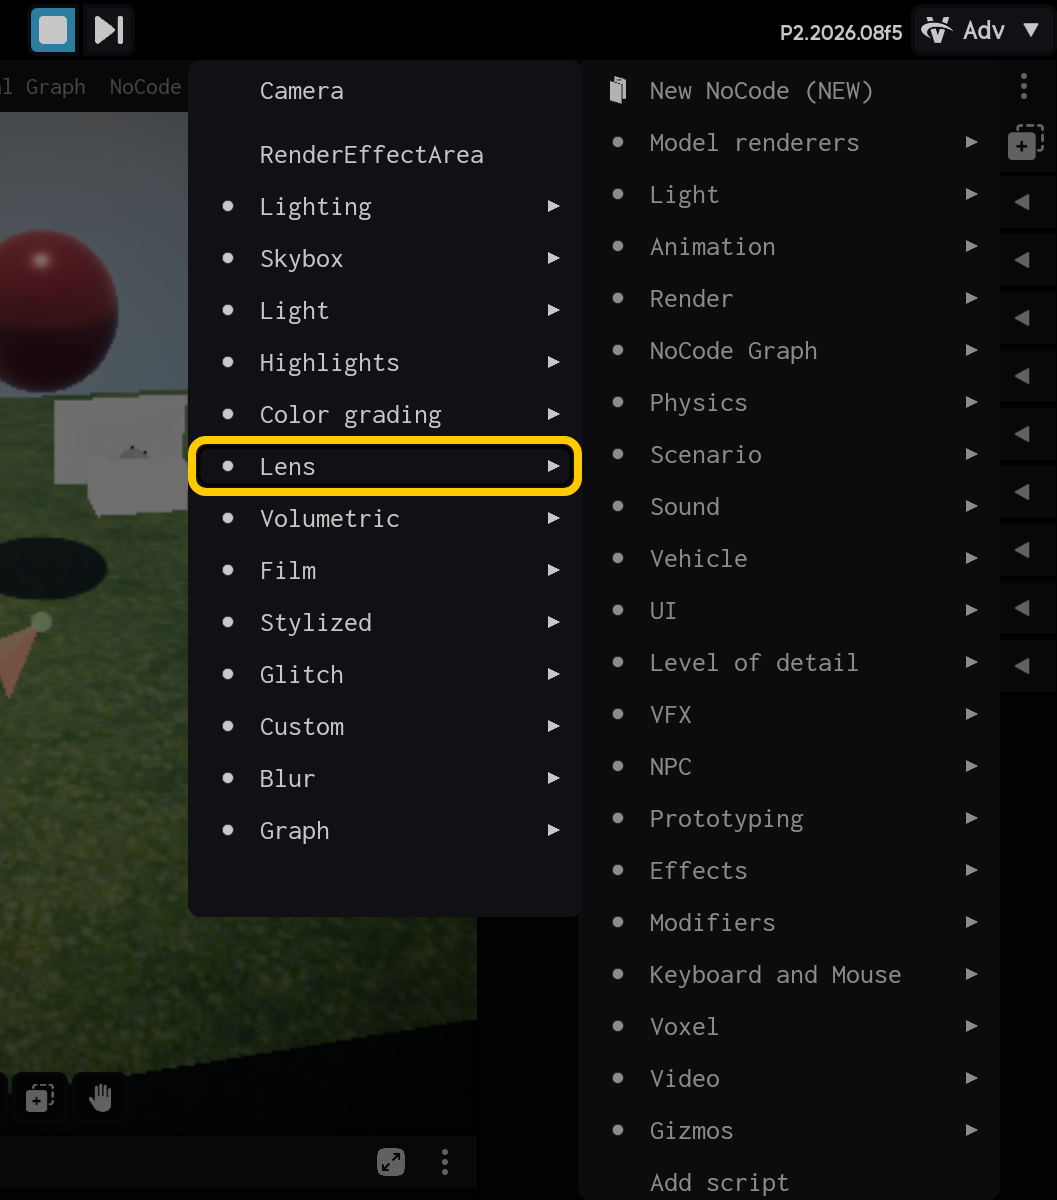
2.3. Open the Lens category.
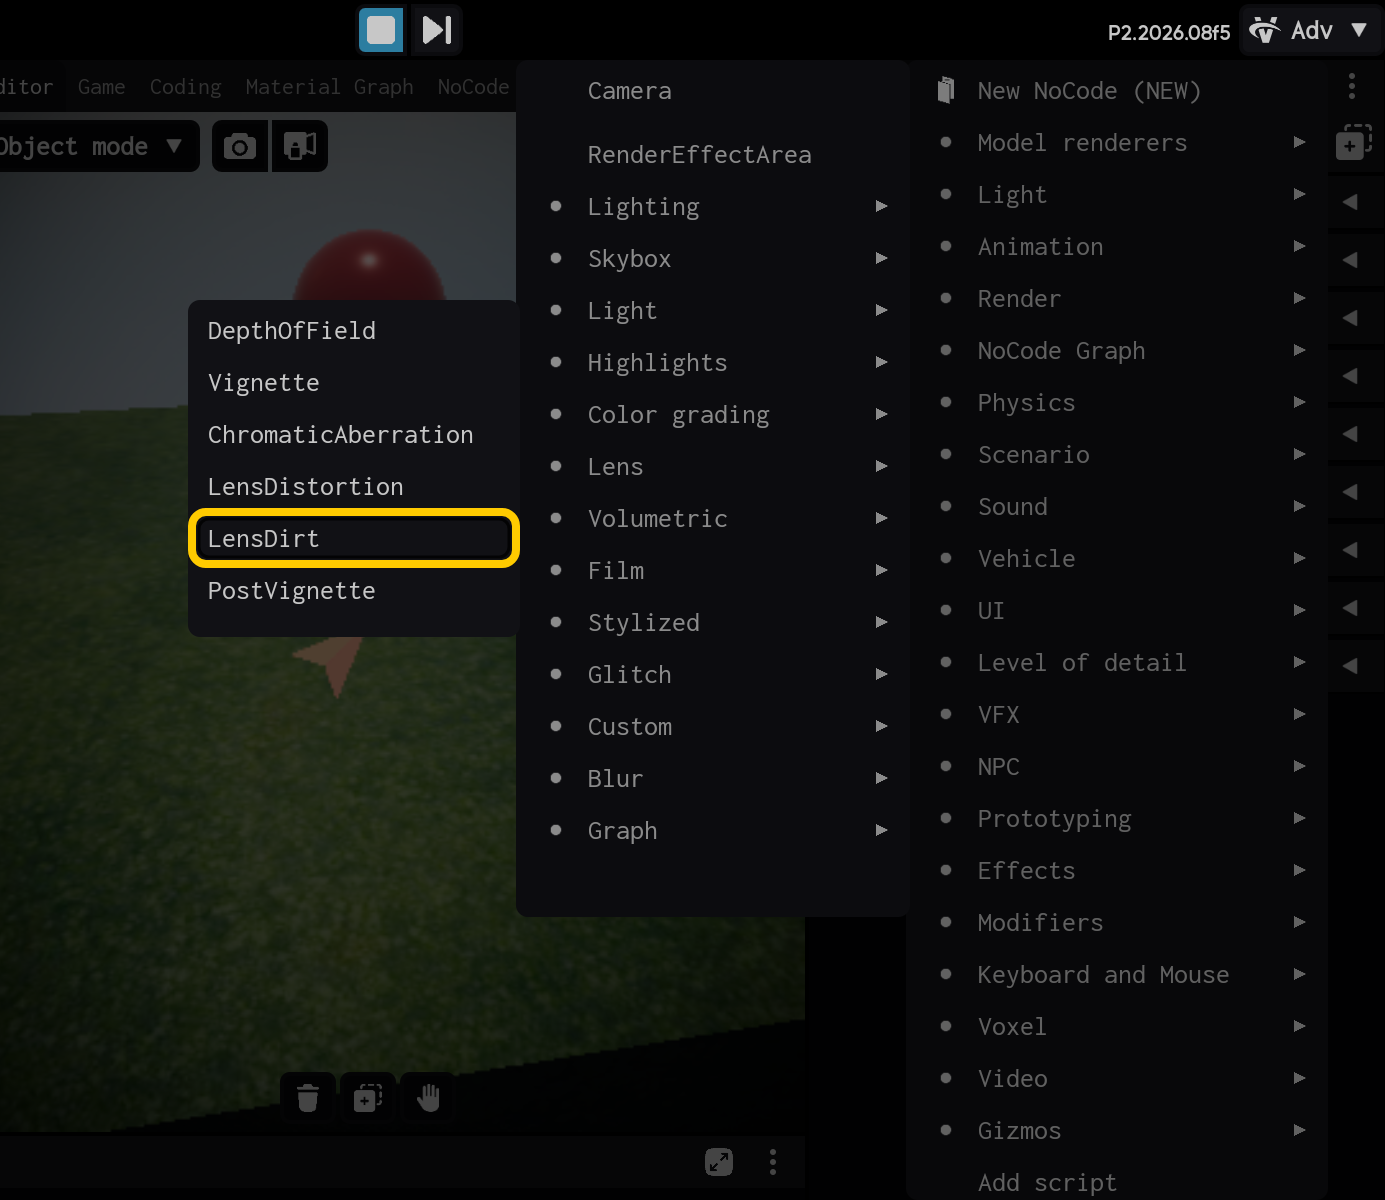
2.4. Select the LensDirt component.
End of optional section. Continue with the main tutorial below.
- Select the LensDirt component to view its settings.
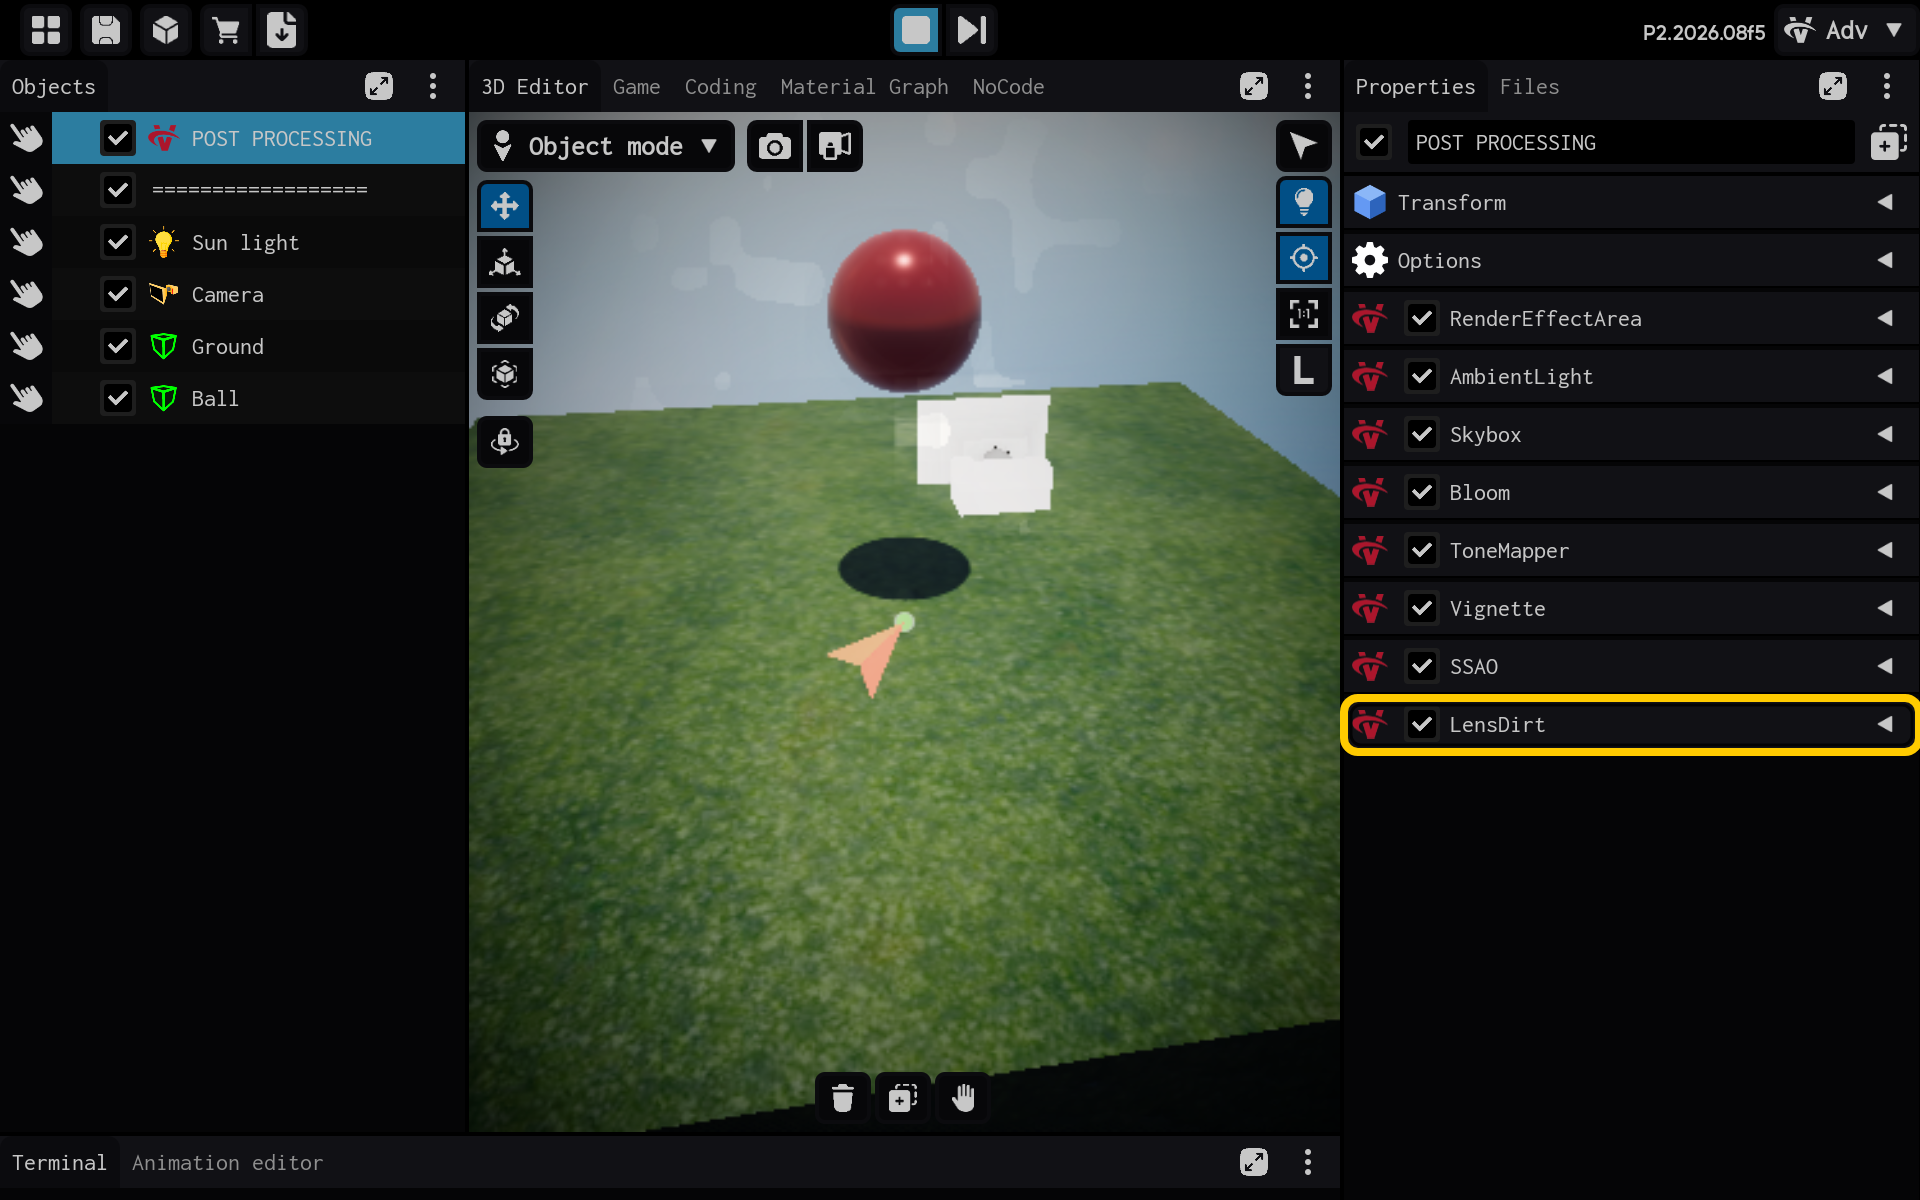
Lens Dirt places marks over bright areas as if they were on a camera lens.
- Dirt texture: The image used for the marks.
- Intensity: How visible the marks are.
- Threshold: Which bright areas reveal them.
- Color: Their tint.
- LensDirt settings are visible in Properties.
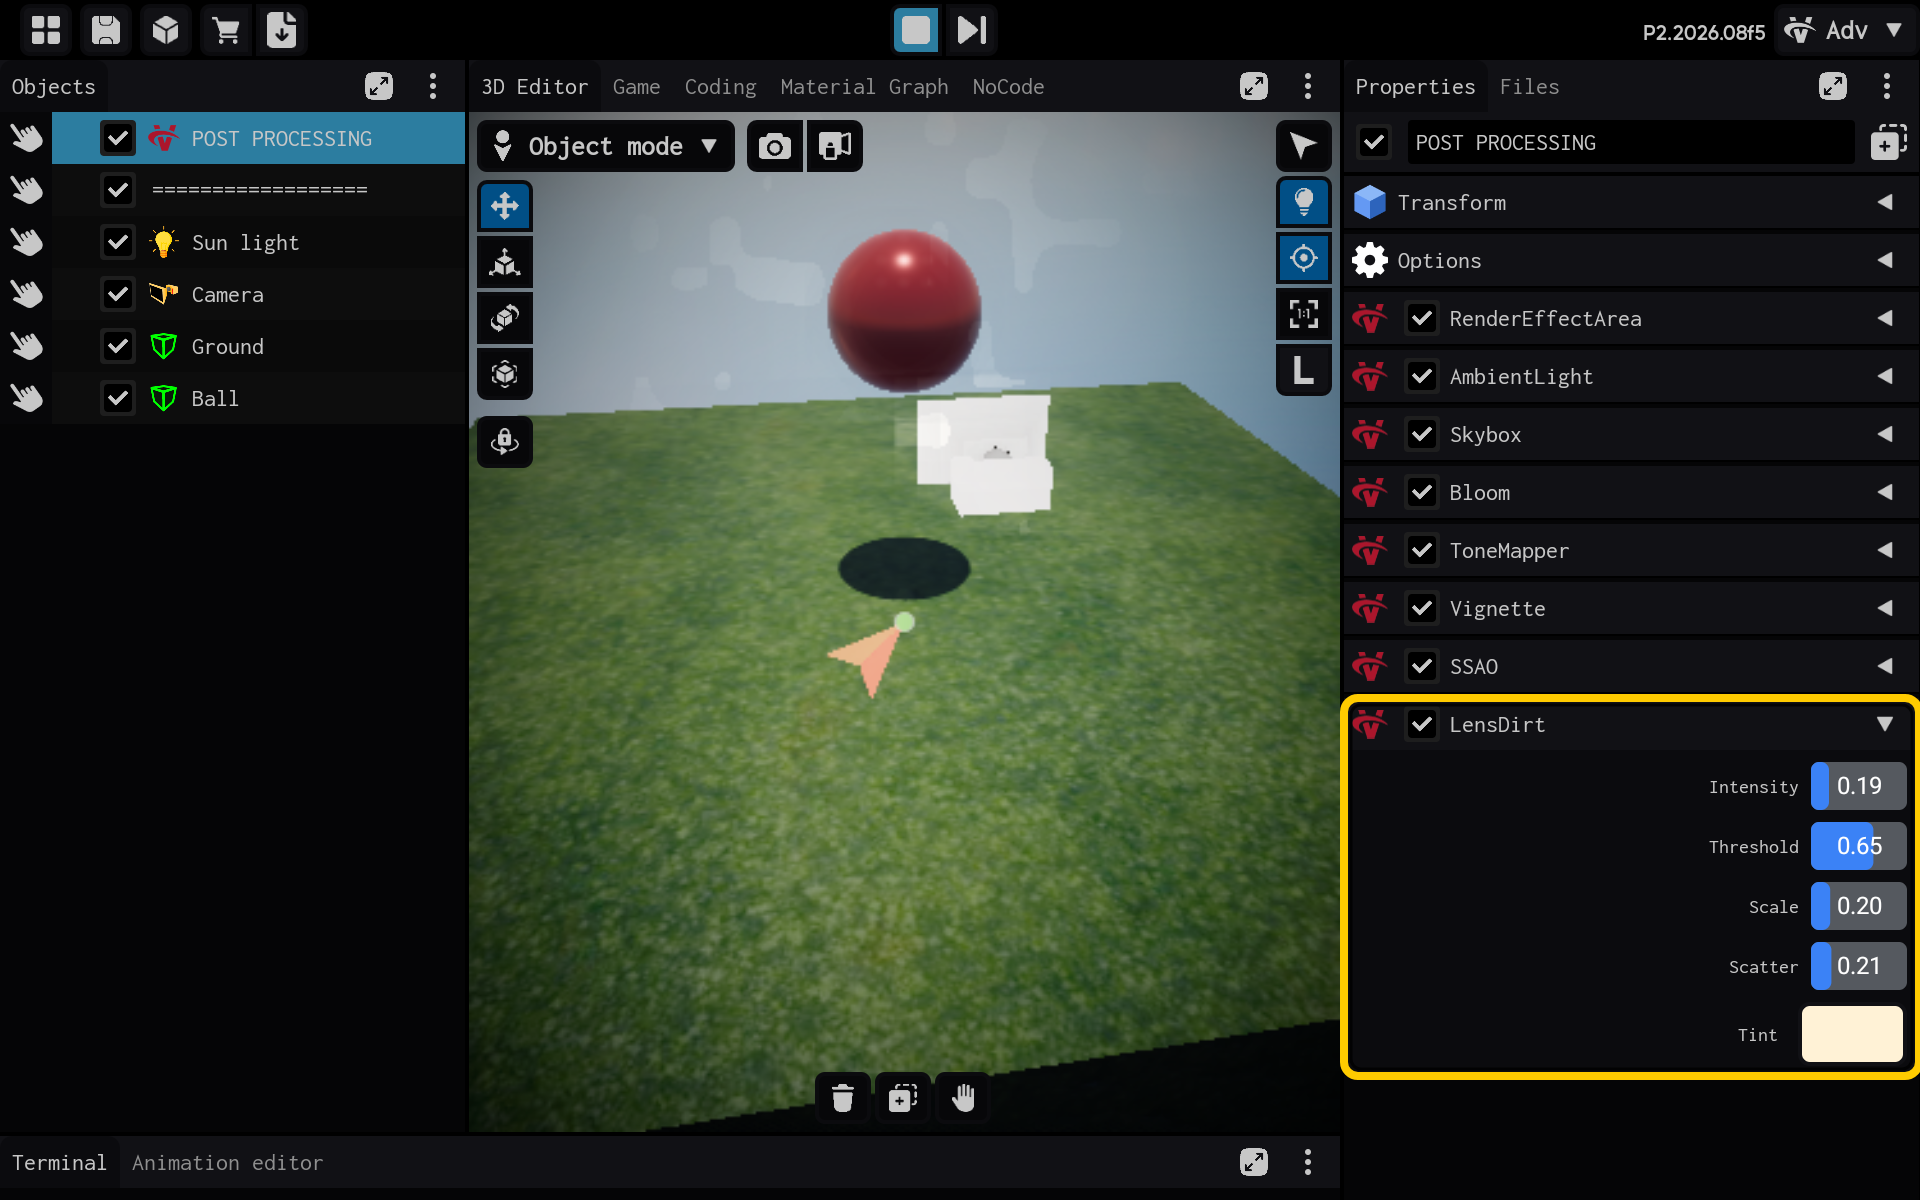
Result
The LensDirt component is now configured and its settings are visible in the Properties panel. You can adjust its values and preview the result in your scene.