Configuring NightVision
Night Vision gives the image a low-light camera appearance.
Color chooses the tint. Brightness and contrast control visibility. Noise and scanlines add camera texture.
Steps
- Select the POST PROCESSING object in the Objects panel.
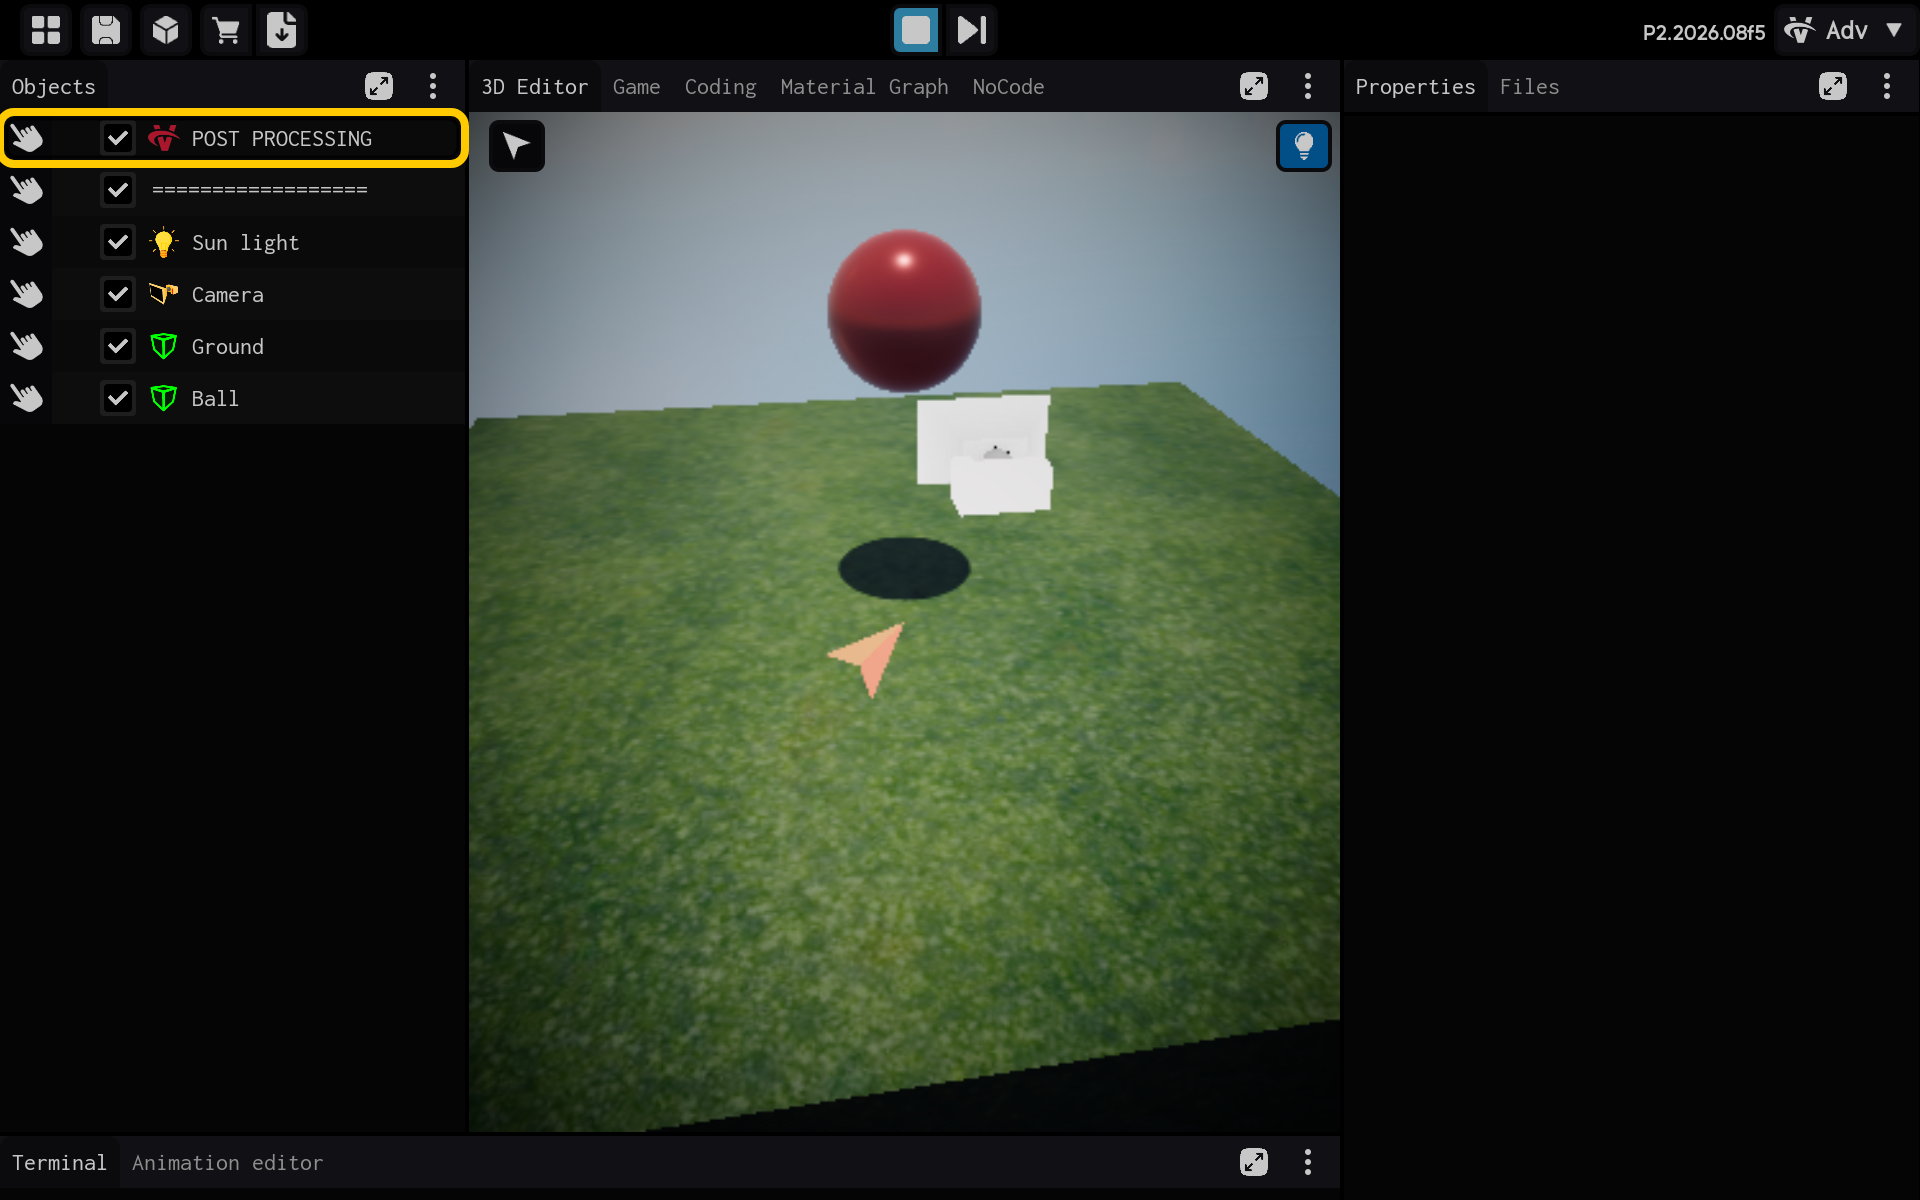
Optional: Add the NightVision component
Use this section only if the NightVision component is not already listed in the Properties panel. If it is already present, skip the actions in this section and continue with the main tutorial below.
2.1. Tap Add Component to add NightVision.

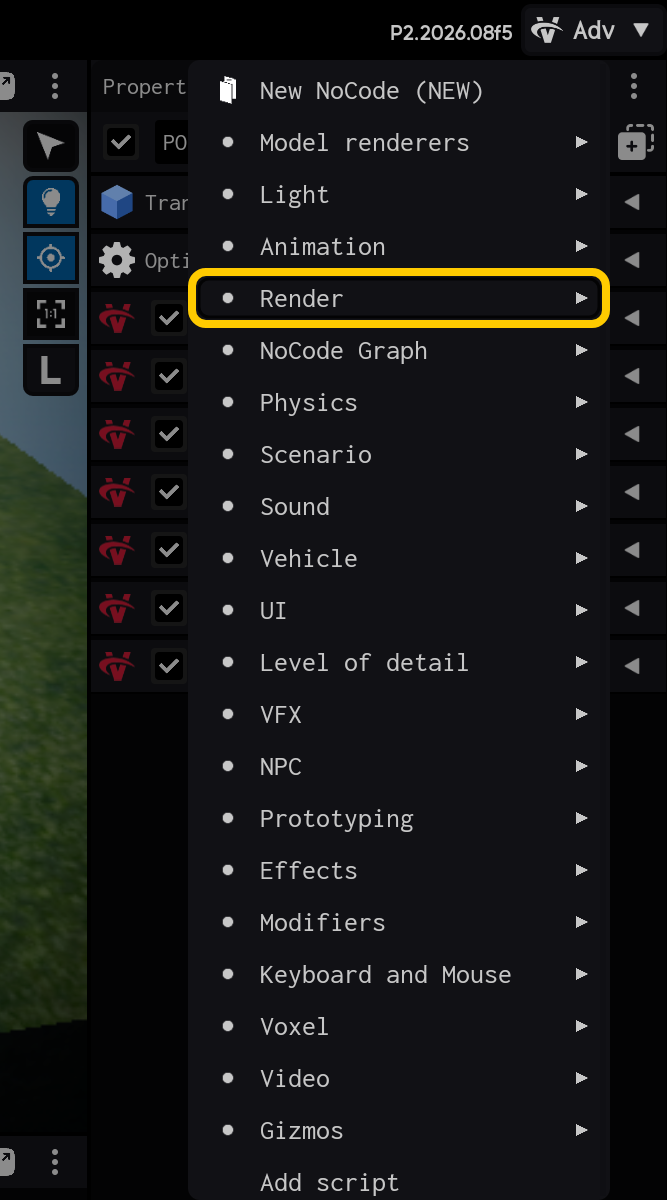
2.2. Open the Render category.
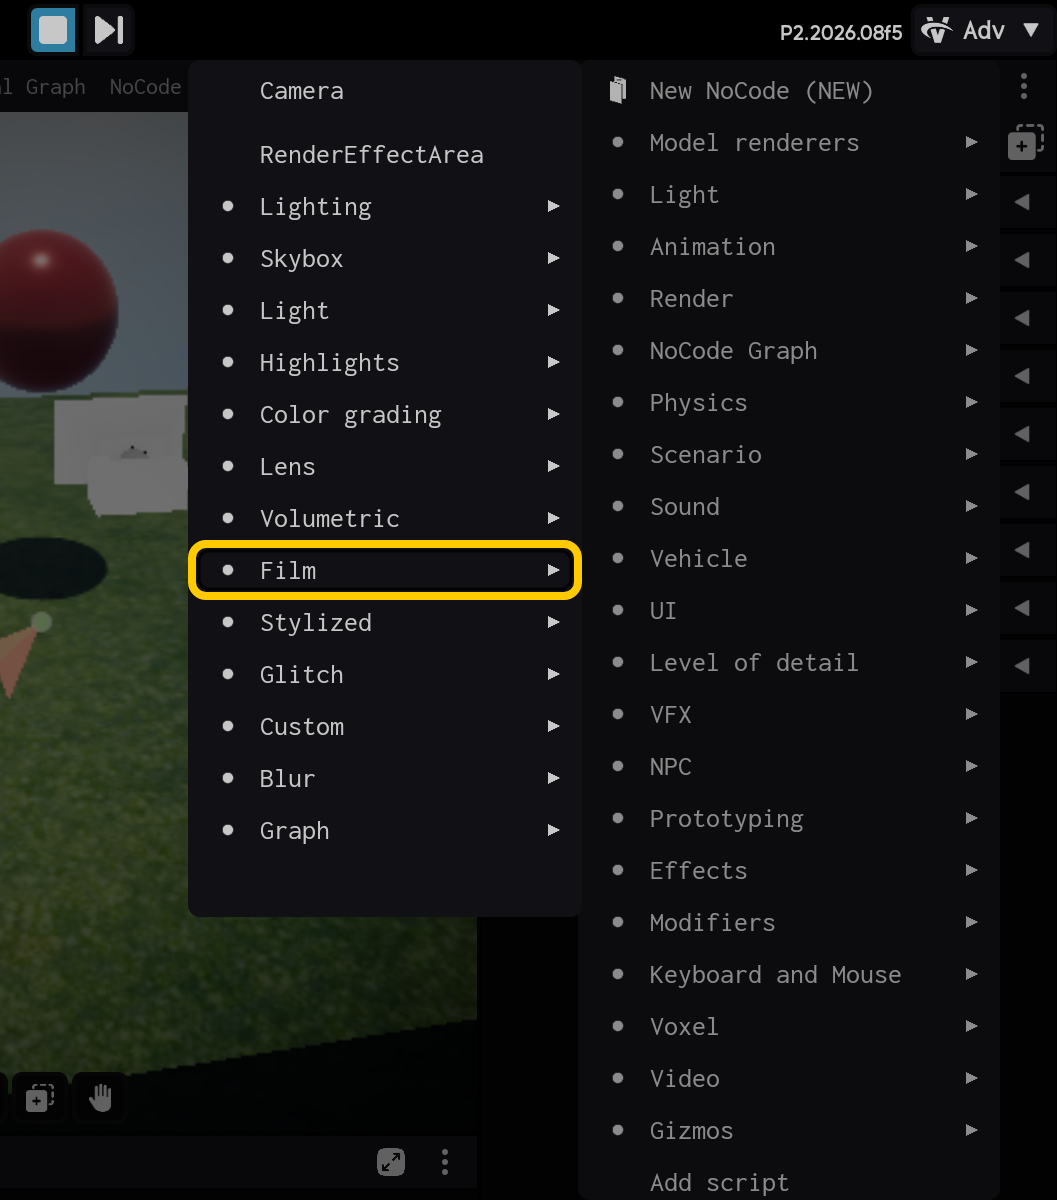
2.3. Open the Film category.
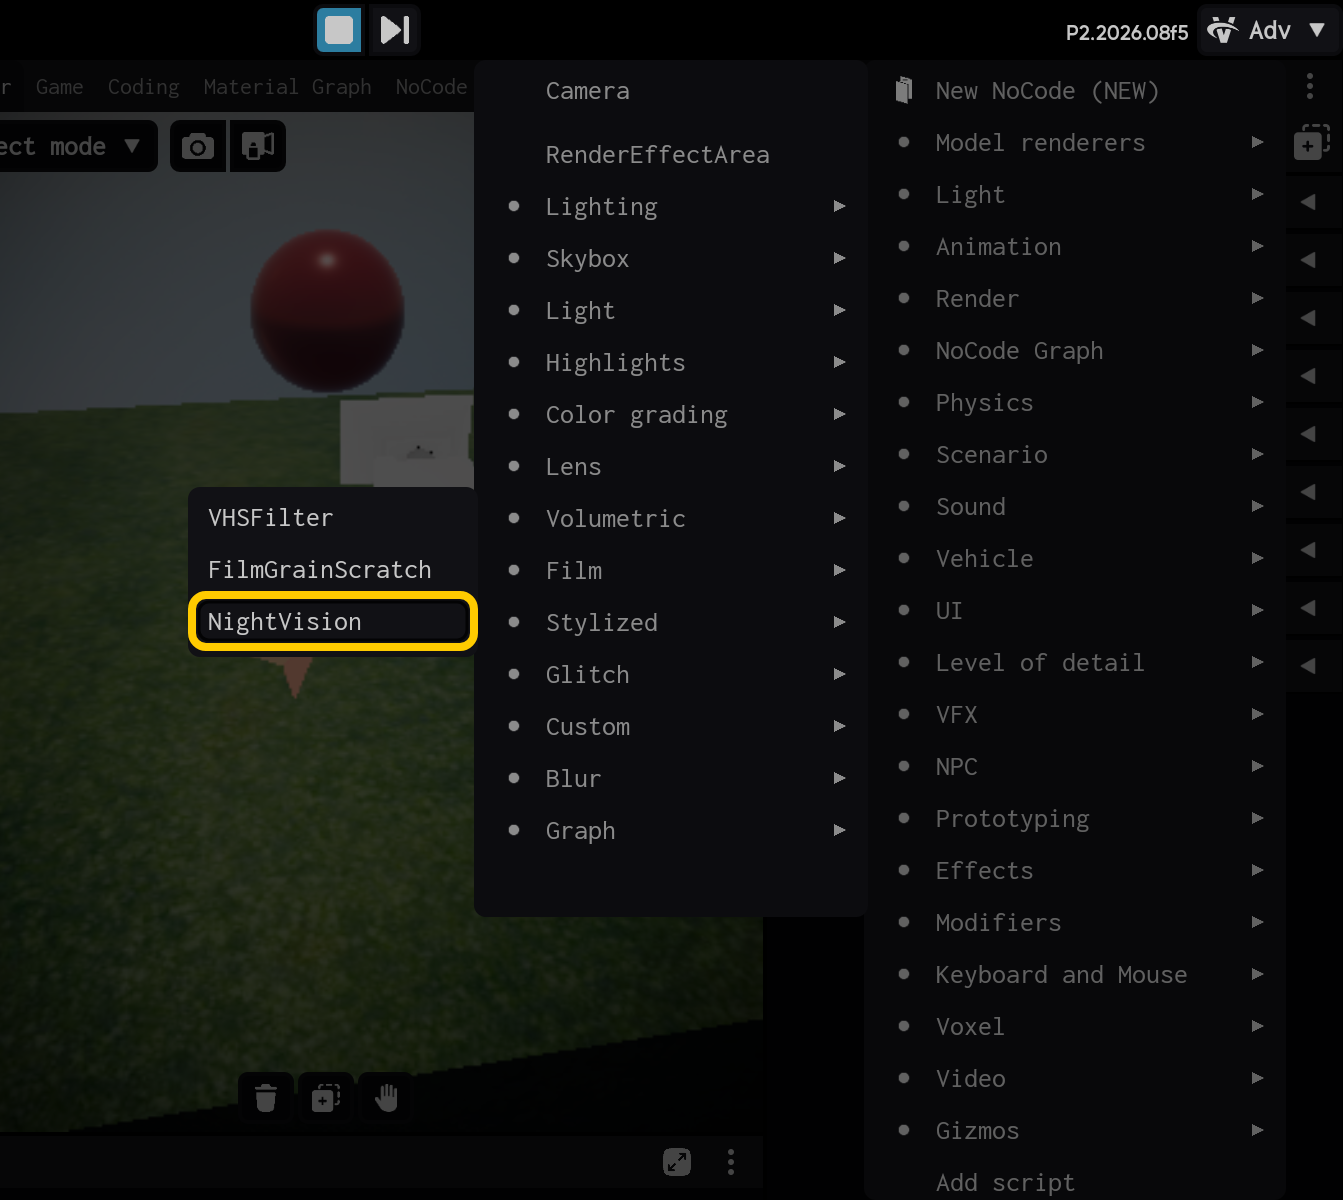
2.4. Select the NightVision component.
End of optional section. Continue with the main tutorial below.
- Select the NightVision component to view its settings.
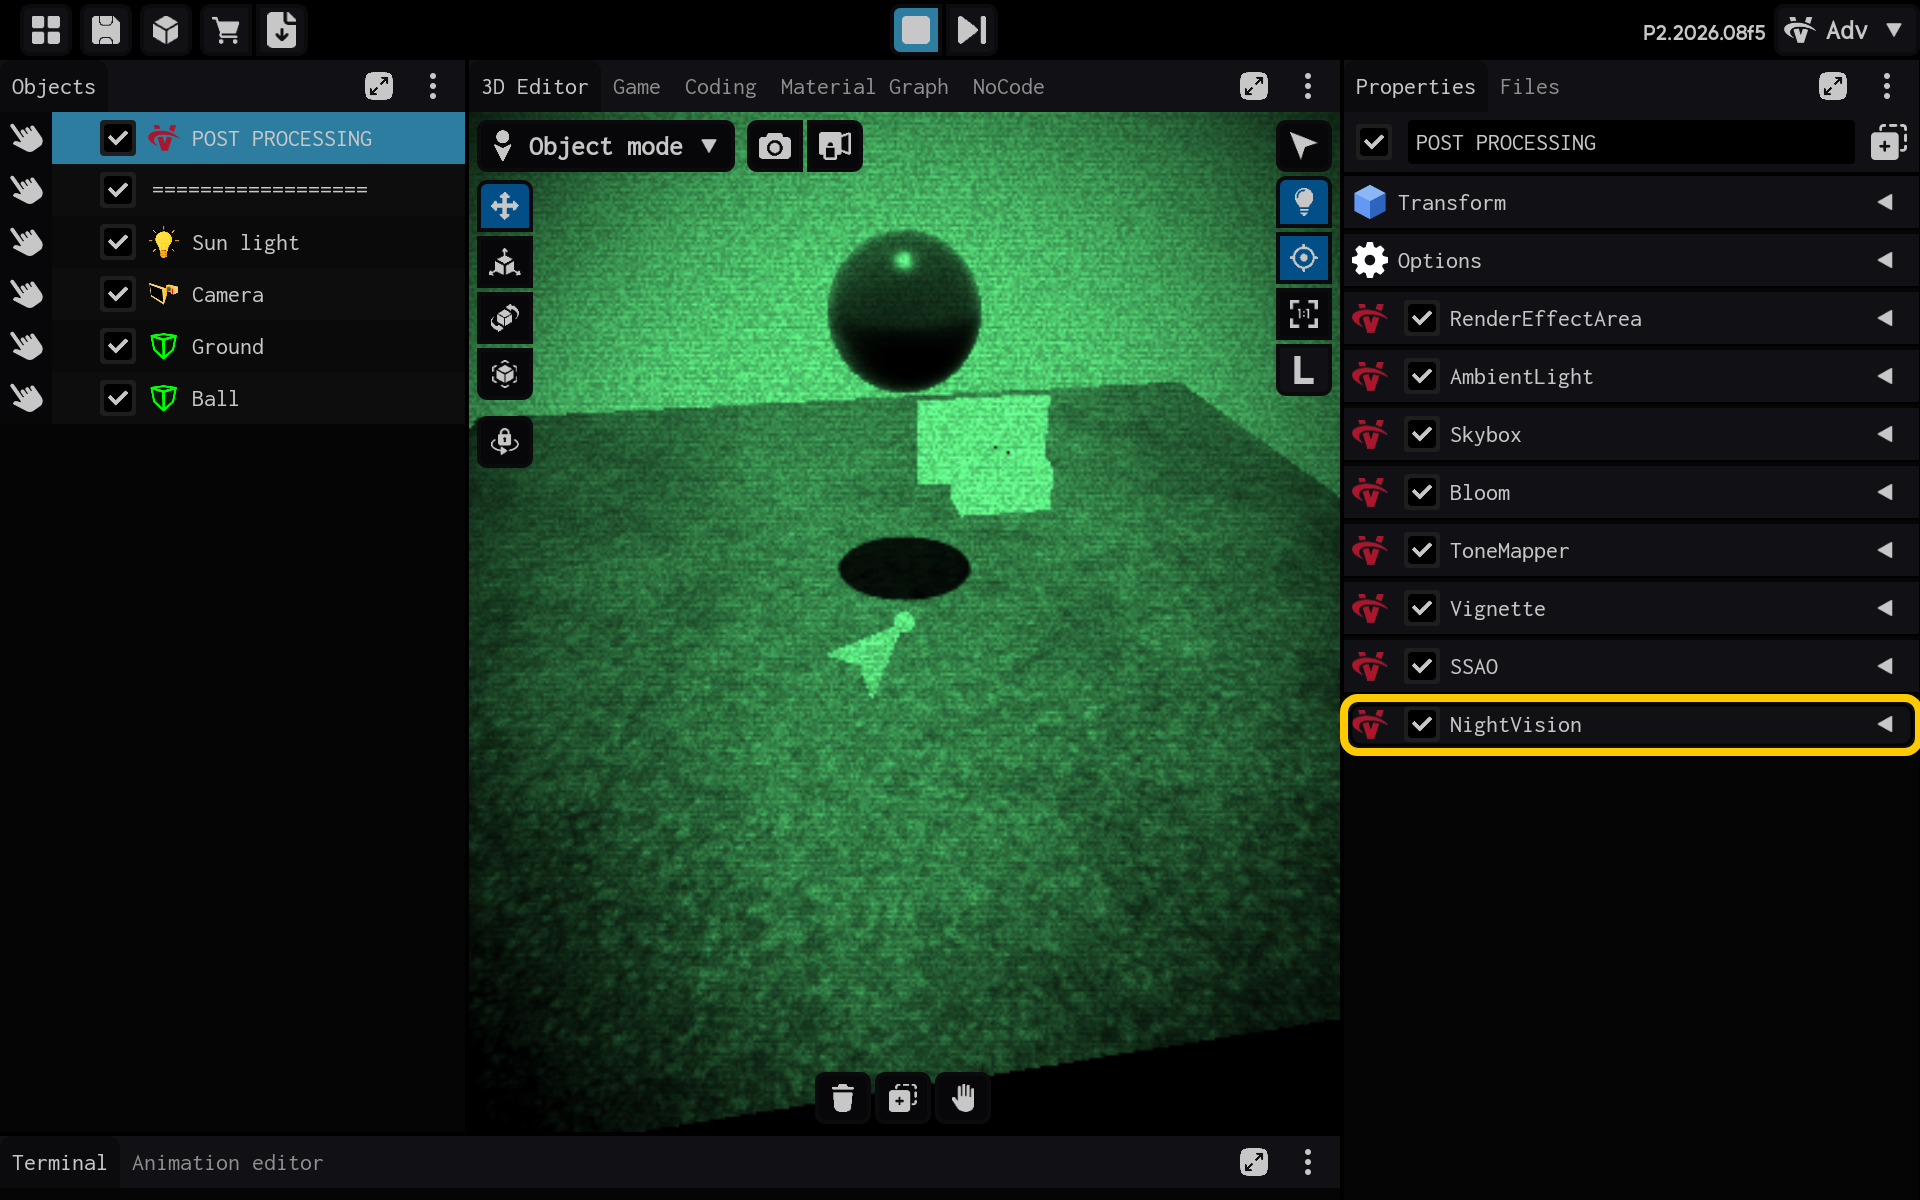
Night Vision creates a low-light camera appearance.
- Color: Night-vision tint.
- Brightness and contrast: Visibility of the dark image.
- Noise and scanlines: Electronic camera texture.
- NightVision settings are visible in Properties.
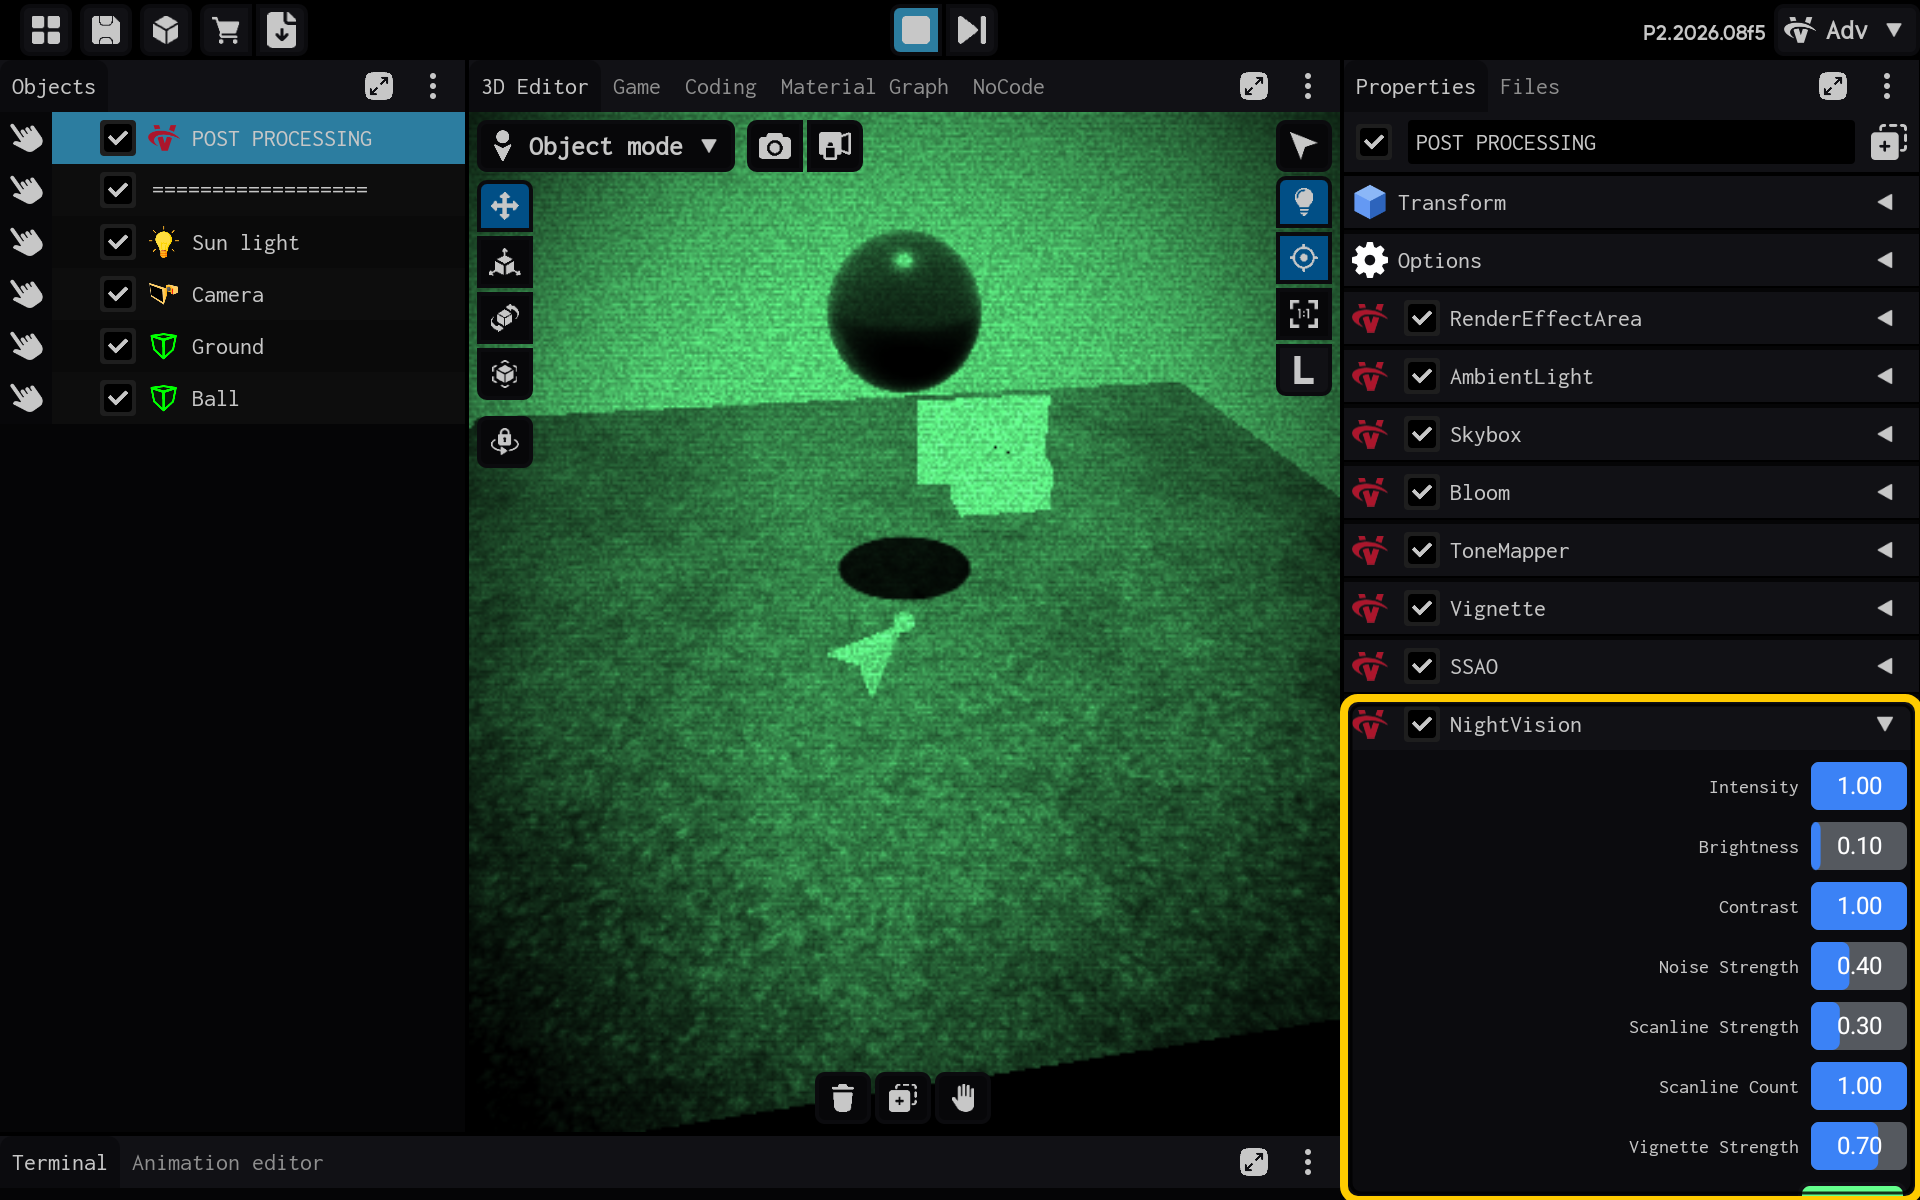
Result
The NightVision component is now configured and its settings are visible in the Properties panel. You can adjust its values and preview the result in your scene.